
Last updated November 15, 2026
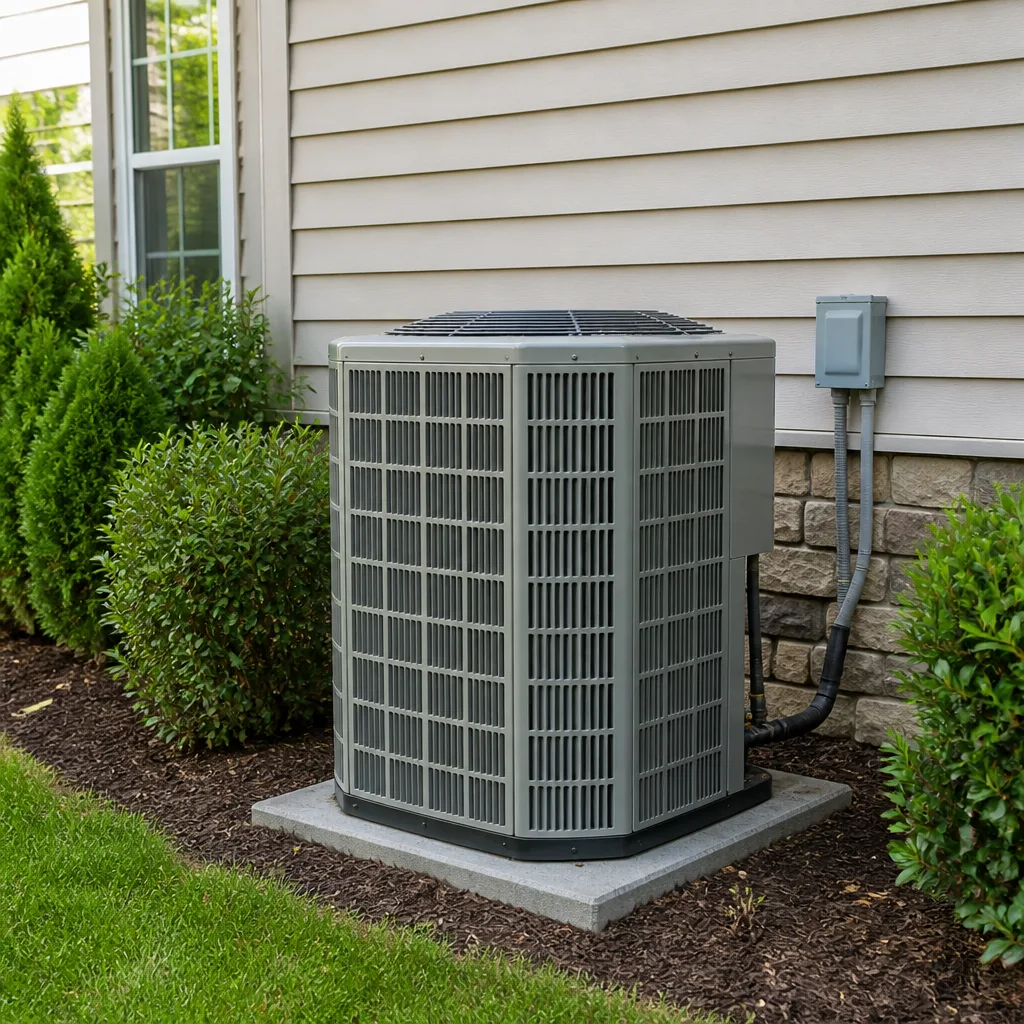 AC repair
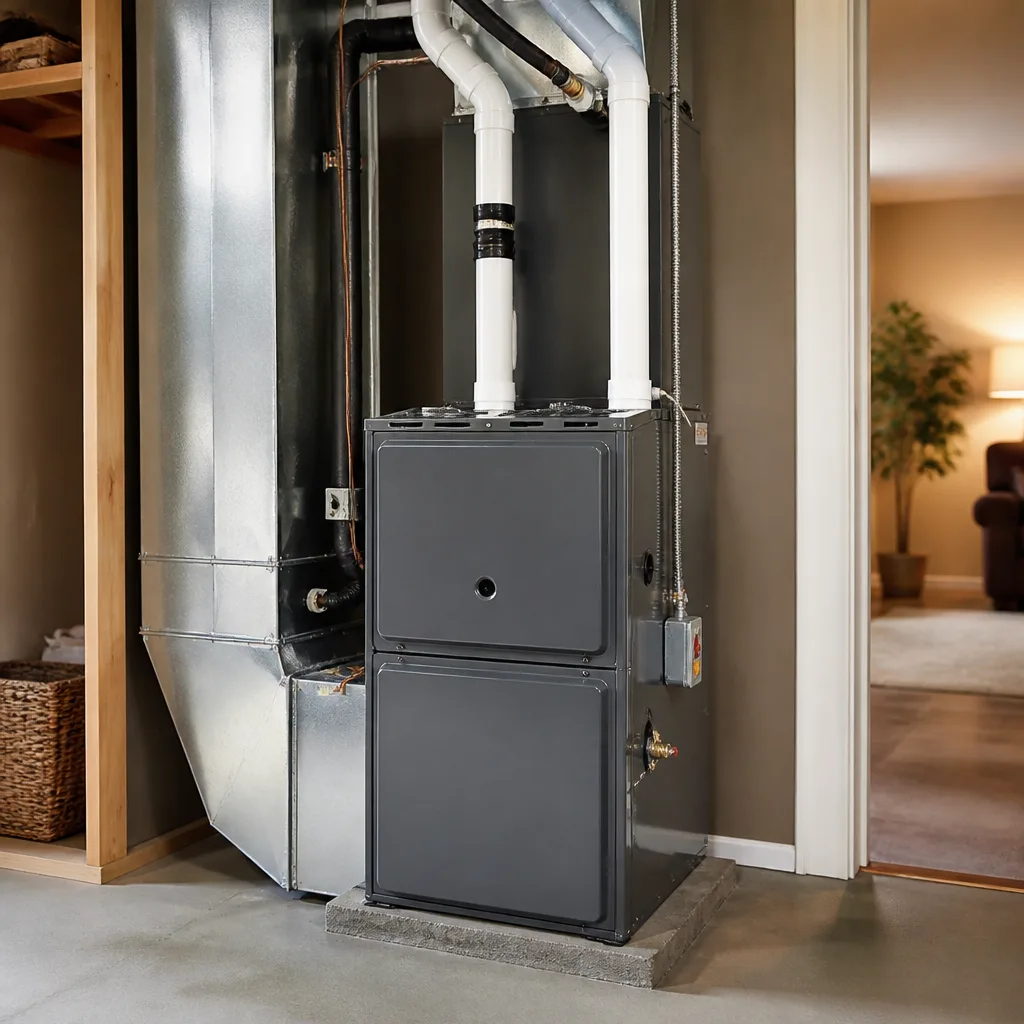 Furnace & heating
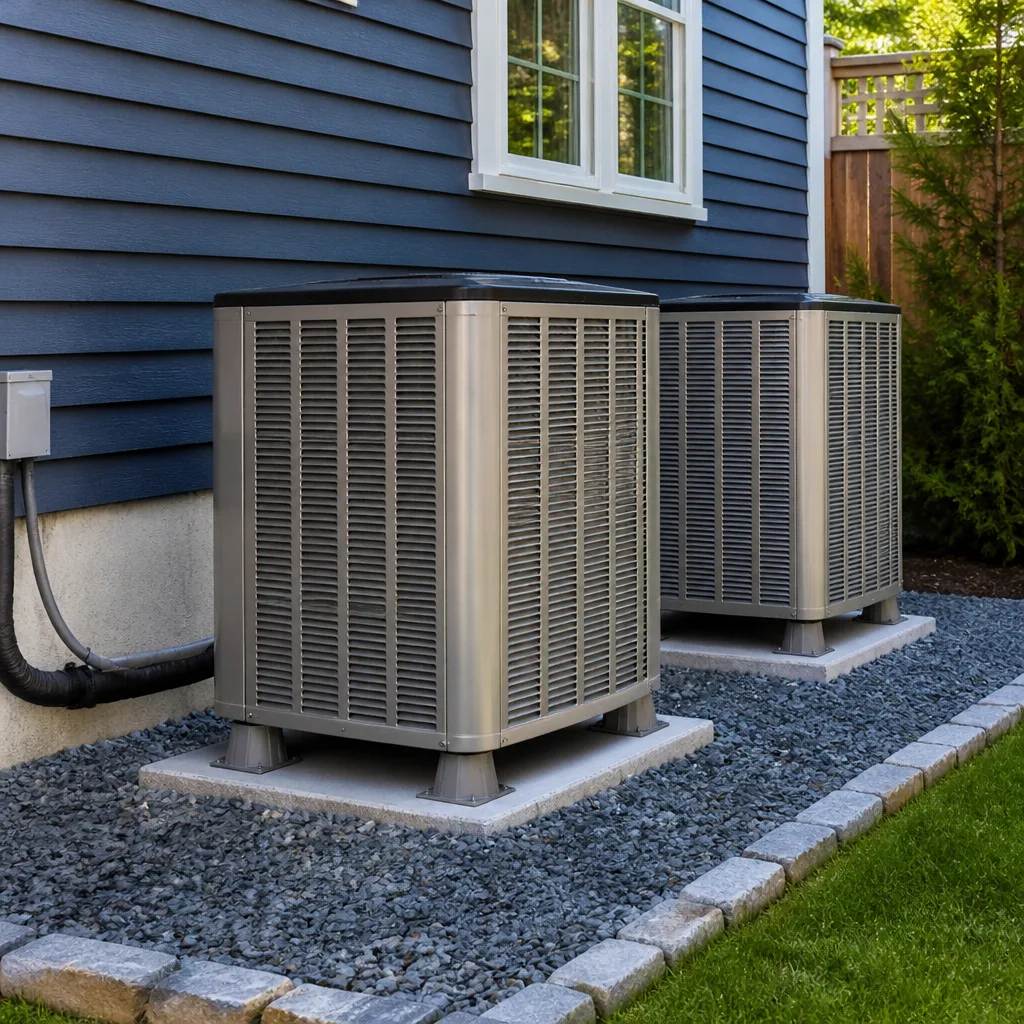 Heat pumps
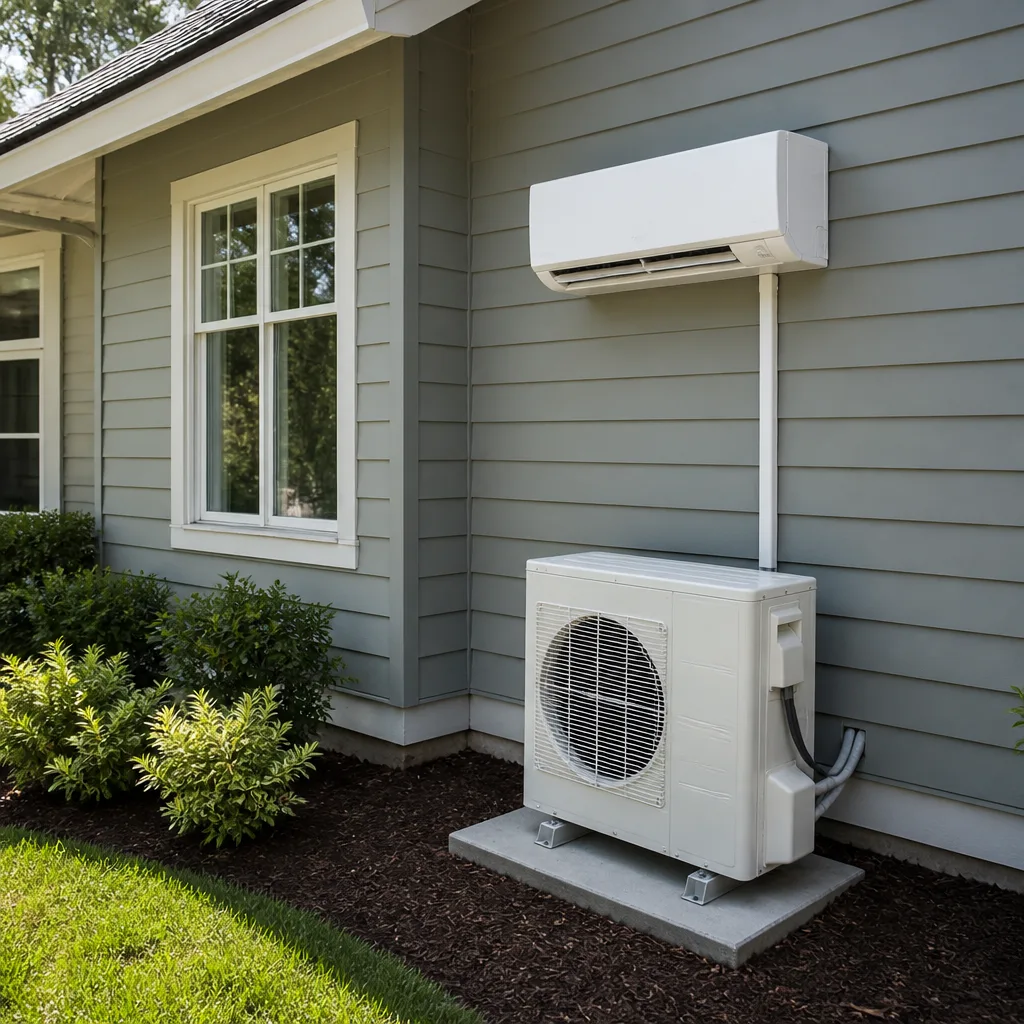 Ductless mini splits
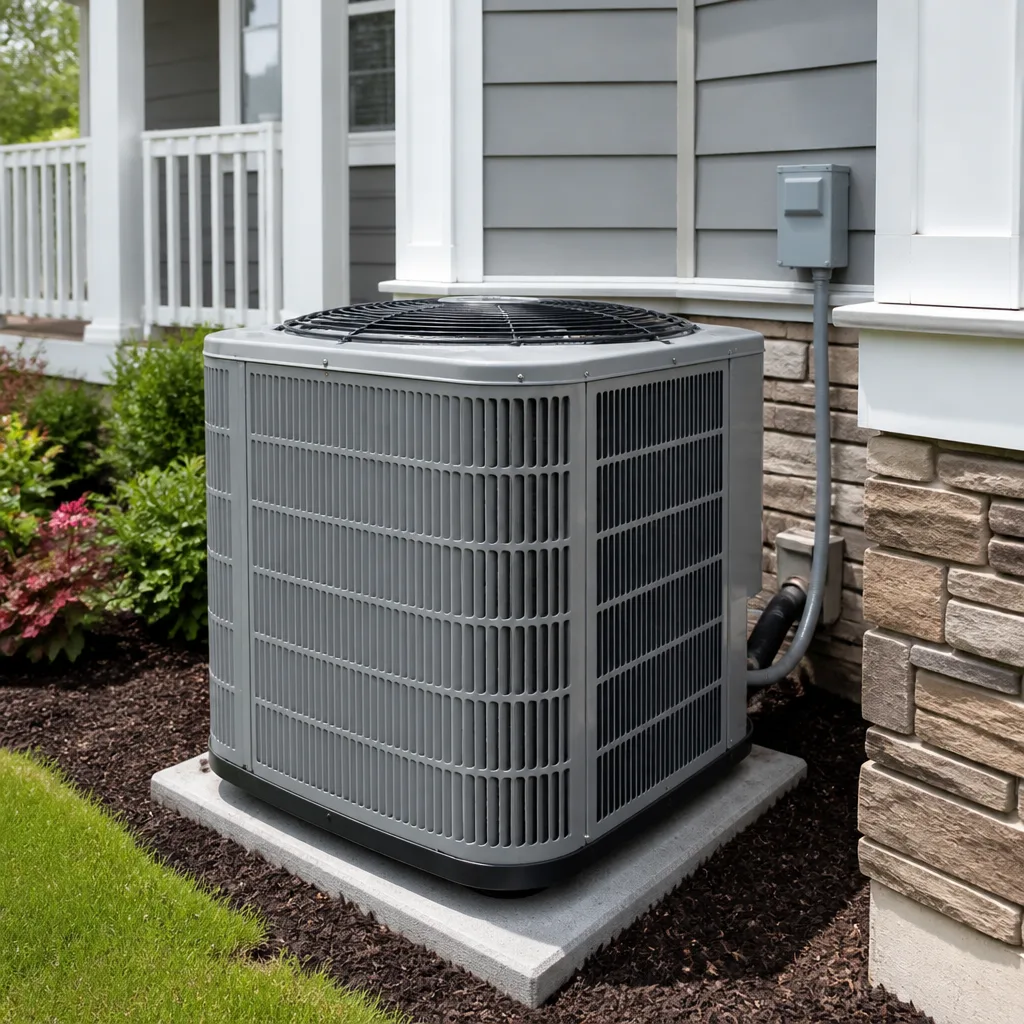 Carrier
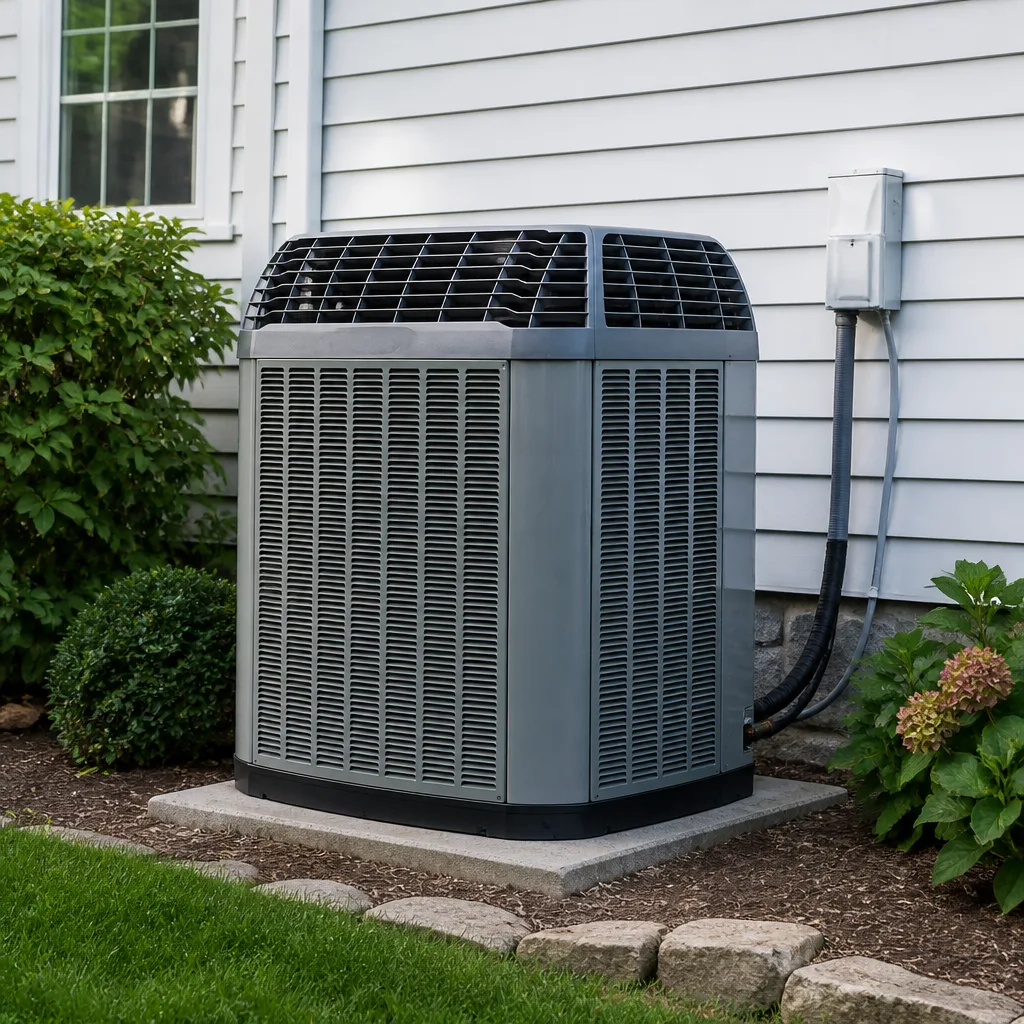 Trane
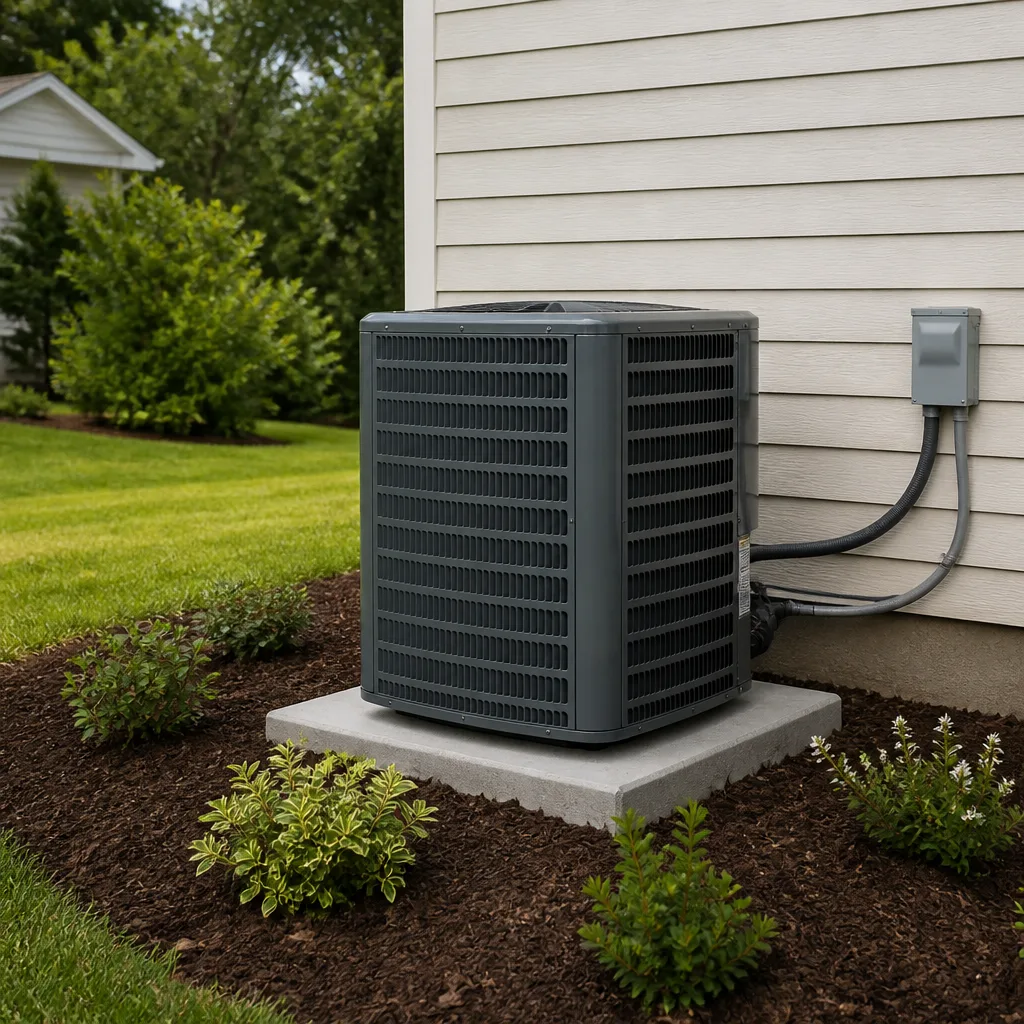 Goodman
Seasonal tune-up and full diagnostic on your Carrier, Trane, or Goodman system - readings shown to you before any repair is proposed
Diagnosis first, numbers second - you approve the repair price before a single part goes in.
Get your free estimateAC Installation Troubleshooting in Fremont: Common Problems and How to Fix Them
If your brand-new AC cools the front of the house fine but can’t touch the back bedrooms, the thermostat and the equipment are almost certainly innocent. The ductwork design is the actual culprit. Most post-installation problems we get called about in Fremont aren’t equipment failures at all. They’re installation errors that pass inspection and only show up weeks later as poor performance, short cycling, or uneven cooling. Each failure pattern points back to a specific shortcut. This guide maps symptoms to root causes so you can advocate for yourself with the installing contractor, know which problems are a quick correction and which need a warranty claim, and understand what a correctly installed system should actually do in Fremont’s climate.
Quick Answer
Most AC installation problems in Fremont trace to one of four installation errors: oversizing the unit (causes short cycling), undersized or unbalanced ductwork (causes uneven cooling), refrigerant charge or TXV configuration mistakes (cause poor cooling and coil icing), and electrical sizing errors (cause breaker trips). Diagnosing which one you have starts with matching the symptom to the cause, then documenting it in writing for the installer. Equipment defects are the least common explanation.
Styles & brands we work with
- AC repair
- Furnace & heating
- Heat pumps
- Ductless mini splits
- Carrier
- Trane
- Goodman
Table of Contents
- Short Cycling After Installation: Oversizing, Overcharge, or TXV?
- Uneven Cooling Room to Room: The Static Pressure Problem
- Why New Systems Trigger Humidity Complaints in Fremont
- Electrical Issues After Install: Breakers and Disconnects
- How to Document and Escalate Installation Defects
- What a Proper Commissioning Report Should Show
- When to Call a Professional
- Frequently Asked Questions
Short Cycling After Installation: Oversizing, Overcharge, or TXV?
Short cycling means the compressor runs in short bursts, often five to ten minutes, then shuts off before the house reaches setpoint. It wears the compressor, wastes energy, and never properly dehumidifies. Three installation errors cause it, and they look identical from the thermostat. Distinguishing them takes gauges and a thermometer, not a guess.
Oversizing. This is the most common cause we find. The installer picked a tonnage from a rule of thumb, or matched the old unit’s label without running a load calculation. An oversized system cools the air fast, hits setpoint, and shuts down before the coil has time to pull moisture out of the air. You get a house that feels cold and clammy. The fix is not a refrigerant adjustment. It’s a load calculation (Manual J) and, if the unit is genuinely too large, a replacement conversation.
Refrigerant overcharge. A system charged by weight without verifying subcooling or superheat can be overcharged, which raises head pressure and trips the high-pressure switch. The unit shuts off, resets, and repeats. This is a correction, not a warranty issue: the technician evacuates and recharges to the manufacturer’s spec.
Misconfigured TXV. The thermostatic expansion valve meters refrigerant into the evaporator coil. If it’s the wrong valve for the system, stuck, or a non-bleed type installed without a hard-start kit, the compressor can short cycle on the low-pressure side.
Quick diagnostic checklist:
- Note the run time and off time of each cycle for a full afternoon.
- Check whether the indoor humidity is above 55% during cooling. High humidity with fast cycles points to oversizing.
- Ask the installer for the commissioning readings: subcooling, superheat, and static pressure.
- If static pressure is high and refrigerant readings are in spec, the ductwork is the problem, not the charge.
- If readings are out of spec on a system that otherwise matches the load, the charge or TXV needs correction.
Oversizing and ductwork problems usually need the installer back for design work or a replacement. Refrigerant and TXV corrections are standard service calls that any qualified technician can handle.
Uneven Cooling Room to Room: The Static Pressure Problem
Front rooms cool, back bedrooms stay warm. The thermostat reads setpoint while one room sits five degrees higher. This is almost never a bad unit. It’s a duct design failure, and it shows up in Fremont homes more than most people expect because so many houses were built or retrofitted with ductwork sized to the old, smaller system and never resized when the equipment changed.
Static pressure is the resistance air meets moving through the duct system. A system designed for 0.5 inches of water column total external static pressure, but installed on undersized returns, will run high. High static pressure means the blower moves less air than the equipment needs, so the coil gets less airflow, the supply registers farthest from the air handler get the least, and the rooms at the end of the run suffer.
Common duct causes of uneven cooling:
- Undersized return. A single small return serving a large system chokes airflow. Returns are frequently the afterthought in a replacement.
- Long, undersized supply runs. The last register on a long branch gets whatever pressure is left, which is little.
- Flex duct with sharp bends or crushed sections. Every kink adds resistance.
- Unbalanced dampers. Dampers left wide open or fully closed instead of balanced to the load.
- Leaky duct joints in unconditioned space. Air lost before it reaches the room.
Diagnosing it starts with a static pressure reading at the air handler. From there, a technician measures airflow at each register and compares it to the room’s load. Low airflow at the far registers with high static pressure confirms a duct problem, not an equipment problem. The solution is usually resizing the return, adding a return, or rebalancing dampers. Sometimes a zone damper system is the honest answer for a two-story Fremont home where the upstairs and downstairs want different things. Blaming the unit and replacing it just repeats the mistake at higher cost.
Why New Systems Trigger Humidity Complaints in Fremont
Fremont sits close enough to the bay that summer mornings often arrive under a marine layer of cool, damp air. The fog burns off by midday, but the moisture stays in the air. A correctly installed and configured system handles that load. A newly installed system that wasn’t set up for it leaves the house feeling sticky at 74 degrees, which is exactly the complaint we hear from homeowners within the first month of a summer installation.
The root cause is almost always one of two things: the system is oversized (as covered above, an oversized unit never runs long enough to dehumidify), or the blower is set to a fan speed that’s too high, pushing air across the coil too fast for moisture to condense out. A third possibility is that the installer left the system in a mode that prioritizes temperature over humidity.
What “correctly set dehumidification mode” actually means depends on the equipment. On variable-speed systems, including many Carrier and Trane models, the control board can be configured to run the blower at a lower speed during part-load cooling, which lengthens the run time and pulls more moisture. Some thermostats have a dedicated dehumidification setting that slows the blower when humidity rises above a target. On a single-stage Goodman or Lennox system, the fix is usually simpler: verify the blower taps are set to the manufacturer’s recommended cooling speed for the coil, and confirm the unit isn’t oversized.
What to check:
- Measure indoor relative humidity with a hygrometer over a full day, not just at one moment.
- Confirm the system’s cooling CFM matches the coil’s rated airflow. Too-high CFM means less moisture removal.
- Check whether the thermostat has a humidity or dehumidification setting that’s currently off.
- Verify the unit’s tonnage against a load calculation for the house.
Fremont’s mild, moisture-laden summers are actually kind to equipment: the system runs fewer hours than in the Central Valley. That’s also why a unit that’s just slightly oversized never gets caught by the homeowner until the first humid stretch. A proper commissioning visit should include a humidity reading, not just a temperature reading.
Electrical Issues After Install: Breakers and Disconnects
Breaker trips in the first weeks after installation usually come from three installation errors: wrong breaker size for the condenser’s rated circuit, a disconnect that’s undersized for the new equipment, or a loose connection at the contactor or disconnect. Each is straightforward to check, and each is on the installing contractor, not the equipment brand.
The condenser nameplate lists a minimum circuit ampacity (MCA) and a maximum fuse or breaker size (MOCP). The breaker must fall within that range. An installer who reused the old breaker from a smaller system can create a nuisance trip on a hot afternoon when the compressor draws locked-rotor amps at startup. A breaker that’s too large is worse: it fails to protect the circuit.
The disconnect box at the outdoor unit has the same requirement. It must be rated for the new unit’s amperage. A disconnect left in place from a previous, smaller condenser is a common miss. Loose lugs at the disconnect or the contactor cause voltage drop and heat, which can trip the breaker intermittently and is a genuine fire concern.
What to verify in writing from the installer:
- The breaker size installed matches the nameplate MOCP.
- The disconnect amperage rating matches the new condenser.
- Wire gauge matches the MCA and the run length.
- The ground connection is intact and bonded at the disconnect.
- All terminations are torqued to spec, not just hand-tight.
On the inspection side, Fremont permit inspections on HVAC replacement typically check the electrical disconnect, the equipment nameplate against the permit, the condensate line routing, and the platform or pad mounting. The misses we hear about most are the disconnect rating and the condensate line termination point. If a first reinspection fails, it’s usually on those two items, and the installer needs to return and correct them. Do not accept a verbal “we’ll get to it.” Get the corrected inspection signed off before the final payment, and hold the signed permit card as part of your records. If you’re not sure whether a permit was pulled, ask for the permit number and call the city’s building department to confirm it. Unpermitted equipment can complicate a future sale and can void a manufacturer’s warranty registration if the warranty requires a compliant installation.
How to Document and Escalate Installation Defects
A valid warranty claim requires documentation the manufacturer will accept: a dated invoice with the equipment model and serial numbers, proof the installation met the manufacturer’s published installation manual (clearances, charge, airflow), and a service record showing the problem was reported within the warranty term. Most homeowners don’t know to record these, and most warranty denials we see trace to missing documentation, not a denied defect.
Start a folder the day the installation invoice arrives. Include:
- The invoice with model and serial numbers for the condenser, air handler or furnace, and coil. Photograph the nameplate on each unit.
- The commissioning report. Ask for it in writing. It should show refrigerant charge readings, static pressure, temperature split, and the load calculation used to size the unit.
- The permit card and the signed final inspection.
- Every service visit: date, technician name on the ticket, symptom, diagnosis, and parts used.
To escalate an installation defect:
- Put the complaint in writing to the installing contractor with photos and a description of the symptom, not just “it’s not working.”
- Give them a reasonable window to respond and correct. One week for a non-urgent issue is fair.
- If they don’t correct it, request the manufacturer’s installation manual for your model and compare it to what’s actually installed. Document the gap.
- Contact the manufacturer’s warranty line for your brand. Carrier, Trane, Lennox, and Goodman all have formal warranty escalation channels. Provide the documentation folder.
- For electrical or permit issues, the city’s building department is the escalation path.
What most homeowners don’t record until it’s too late: the verbal promise that “it’ll be fine after it settles in,” the missing commissioning report, and the model number of the coil that was paired with a different brand’s condenser. Mixed-brand coil and condenser pairings can void efficiency ratings and, in some cases, the warranty. Confirm the coil matches the condenser’s approved list before the invoice is paid.
What a Proper Commissioning Report Should Show
Commissioning is the step that separates a system that works for fifteen years from one that has you calling a technician every summer. A proper report is a snapshot of the system as installed, and it’s the single most useful document you can hold a contractor to.
At minimum, the report should cover:
- Load calculation. The Manual J figure that justified the tonnage. Not a rule-of-thumb calculation.
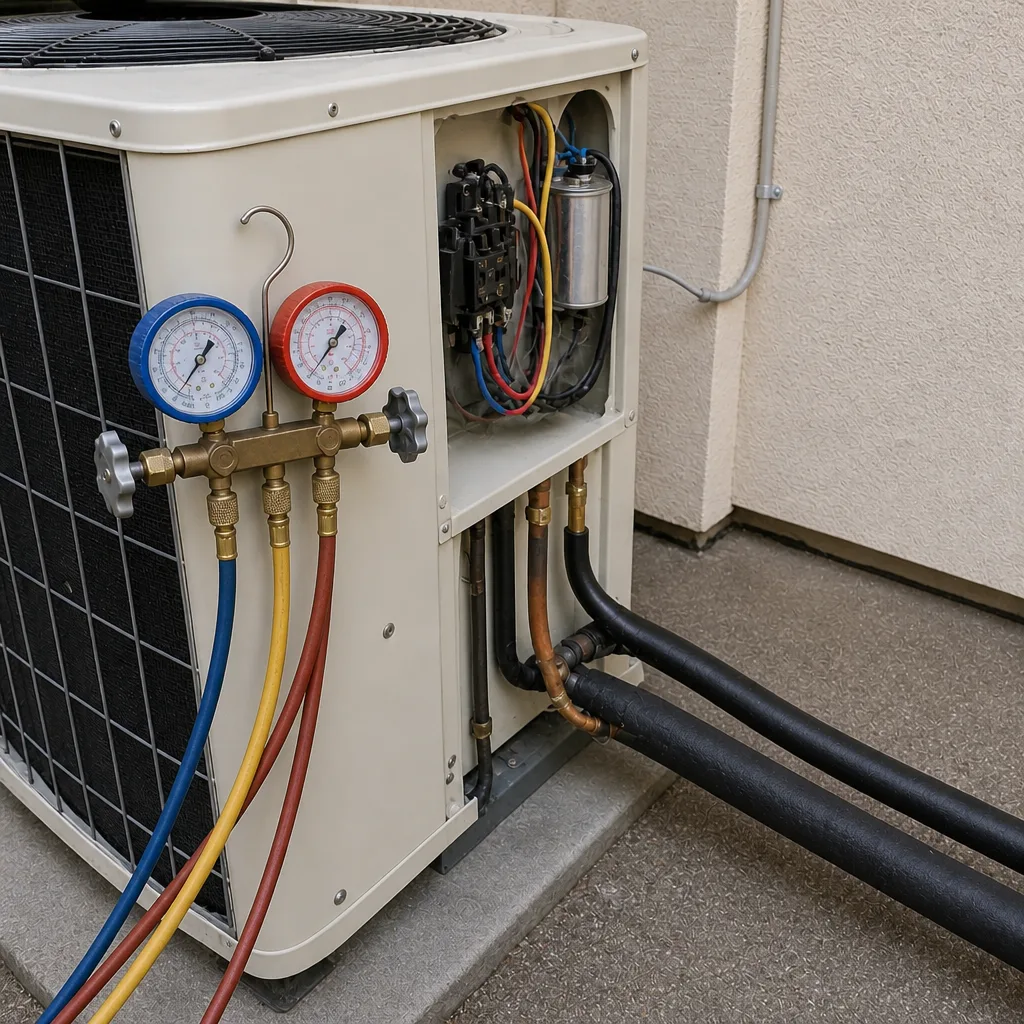
- Refrigerant charge readings. Subcooling and superheat, compared to the manufacturer’s target range.
- Static pressure. Total external static pressure at the air handler, plus return and supply readings, compared to the equipment’s rated range.
- Temperature split. Return air temperature versus supply air temperature, typically in the 15 to 22 degree range at steady-state cooling.
- Airflow. Either a measured CFM or a blower setting verified against the equipment’s rated airflow.
- Electrical. Breaker size, disconnect rating, and voltage at the compressor.
If the installing contractor can’t produce these readings, the installation wasn’t commissioned. That’s not a scare tactic. Those numbers are the difference between a system that performs to its rated efficiency and one that only half-performs while burning through extra electricity. For a Fremont homeowner, the temperature split and static pressure alone will catch most of the problems covered in this guide before they become warranty fights.
If you inherited a system without a commissioning report, an independent technician can generate one. That’s a worthwhile investment before any major repair conversation, because it tells you whether the system was ever right to begin with.
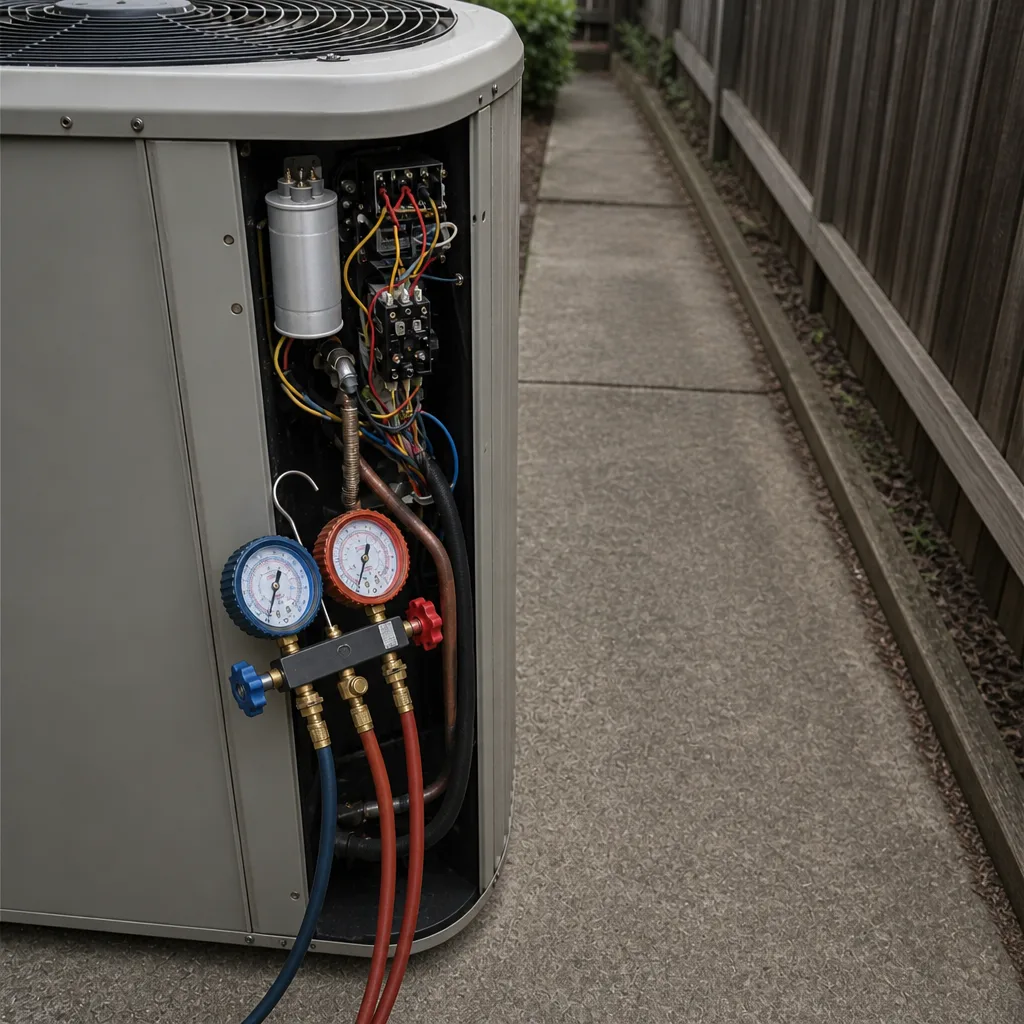
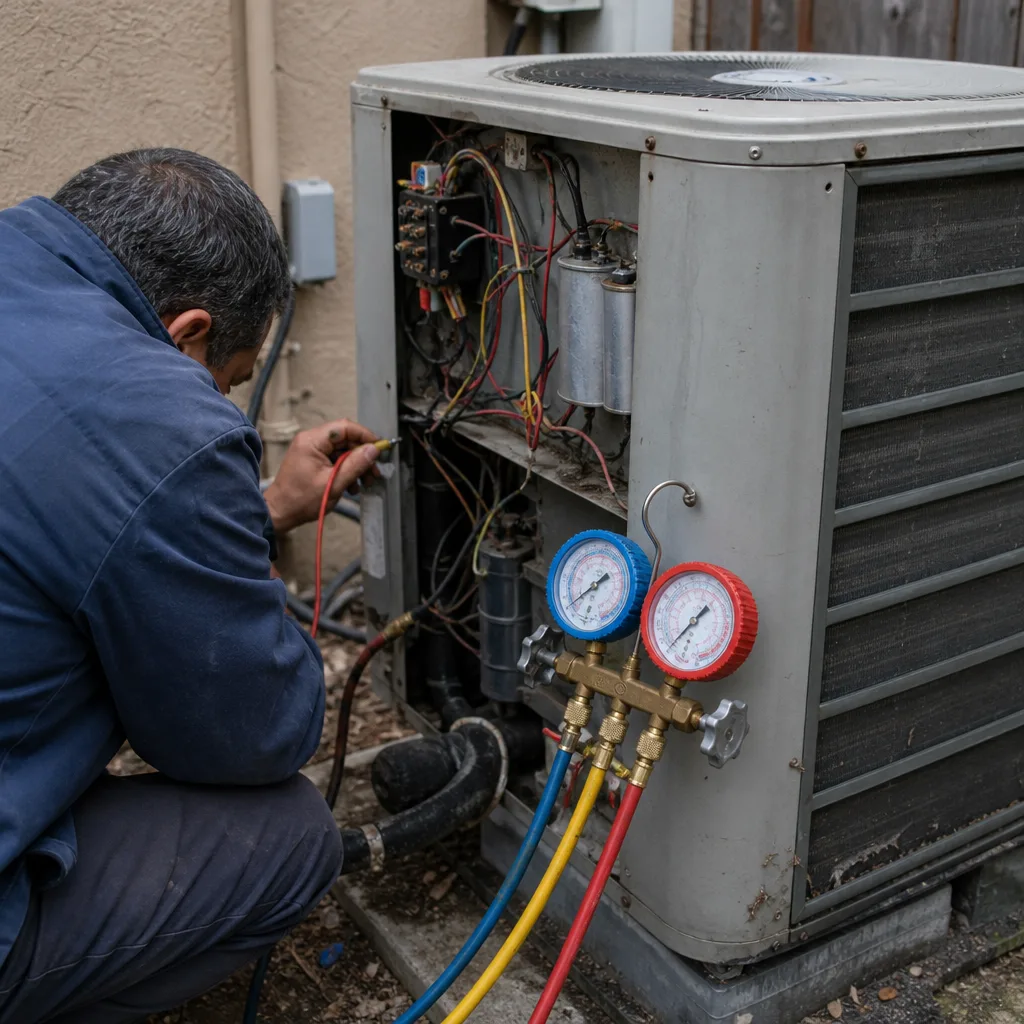
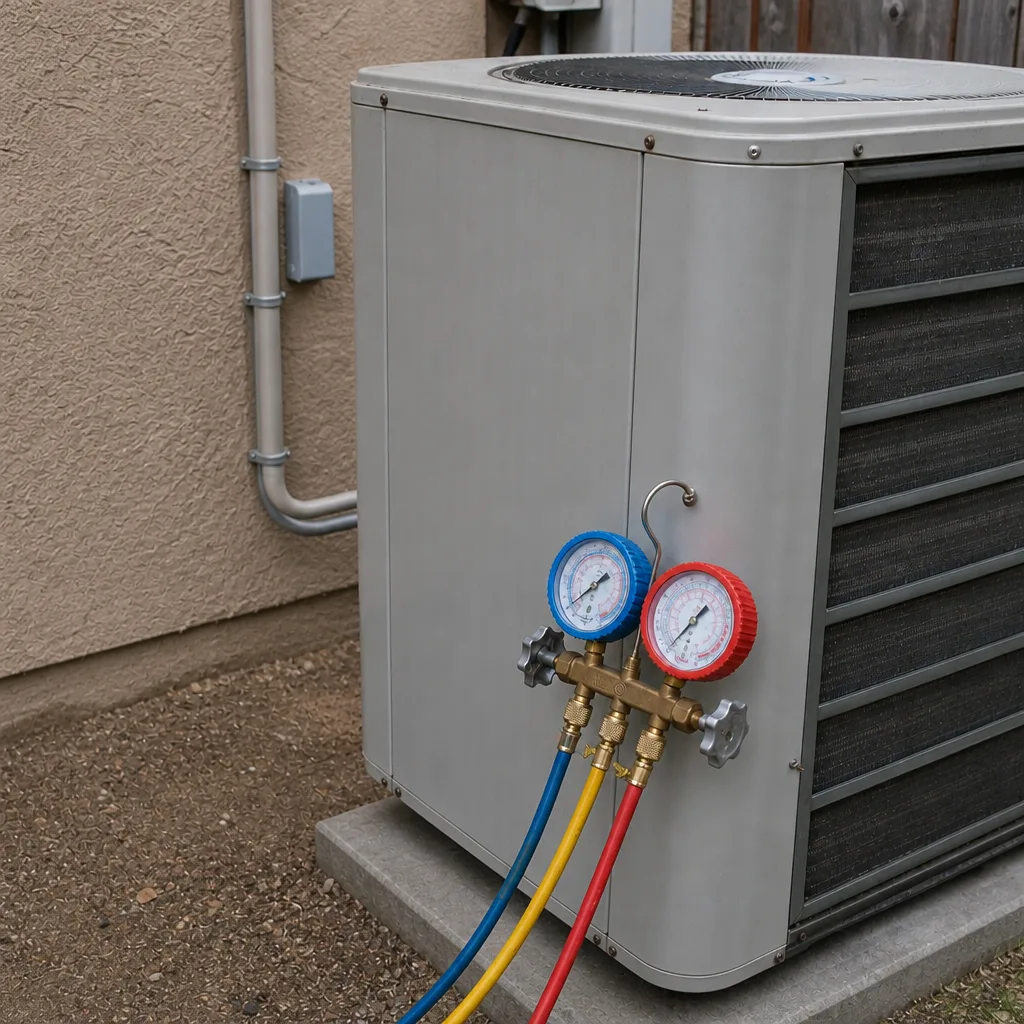
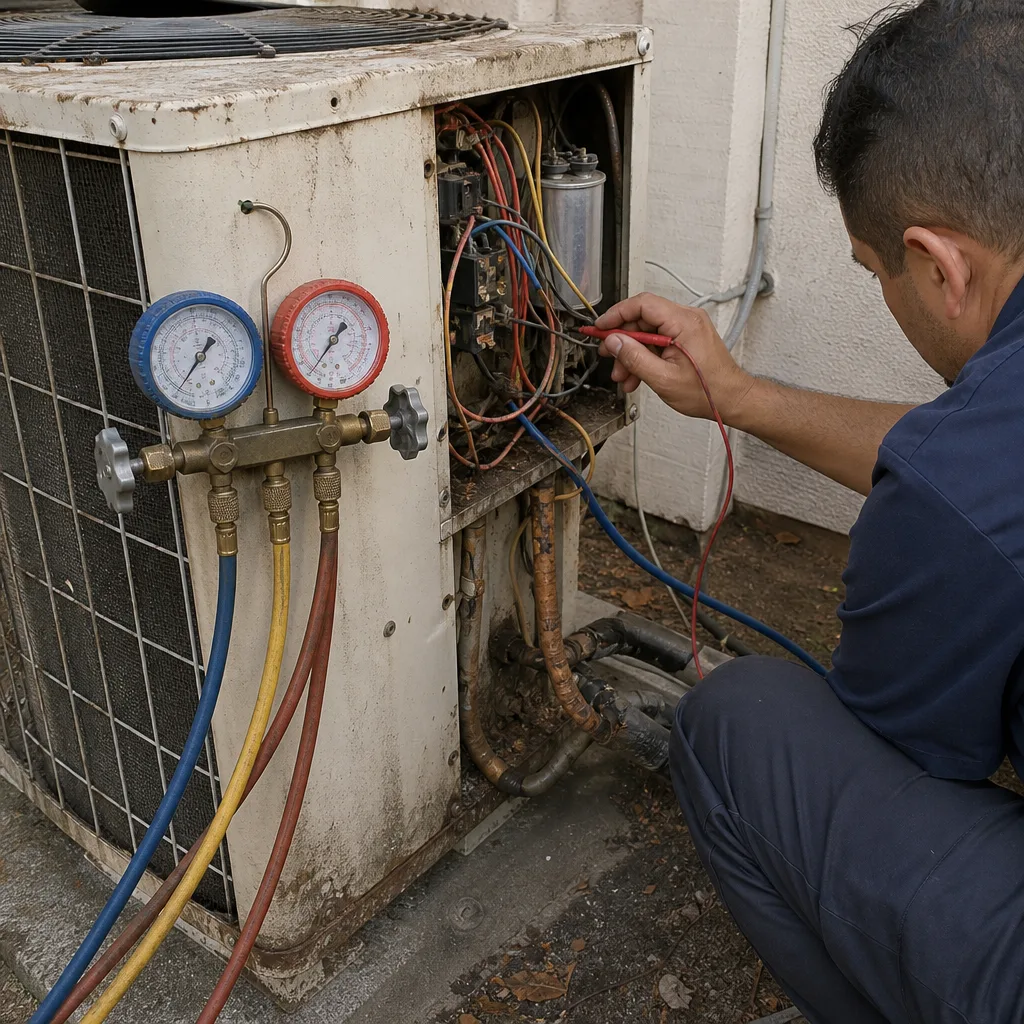
See the difference
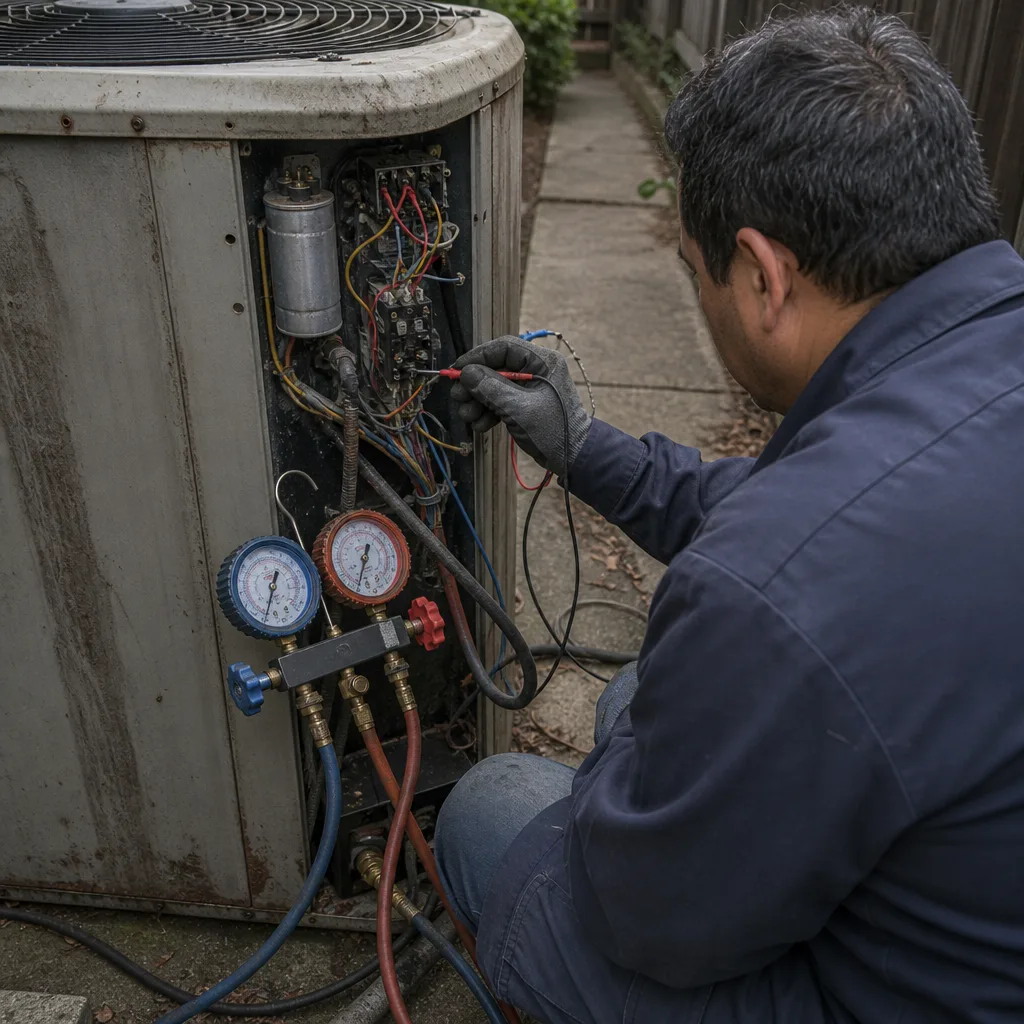 Before
 After
 Before
 After
 Before
 After
Common Mistakes to Avoid
- Accepting “it’ll settle in.” A properly installed system doesn’t need a settling period. Uneven cooling or short cycling in week one is the installation showing its flaws. Report it in writing immediately.
- Sizing by the old unit’s label. Replacing a 20-year-old unit with the same tonnage assumes the old one was right. It often wasn’t, and Fremont homes with additions or window replacements have different loads than they did decades ago.
- Mixing coil and condenser brands without checking the approved list. Installers sometimes pair a value-brand coil with a premium condenser to save cost. Confirm the manufacturer lists the coil as compatible before the invoice is paid.
- Paying in full before the final inspection is signed. The permit sign-off is your leverage. Hold final payment until the inspection card is signed and you have the commissioning report.
- Skipping the humidity reading on commissioning day. Fremont’s summer air holds moisture. Ask for an indoor RH reading as part of the commissioning walkthrough, especially if your home has had humidity issues before.
- Ignoring a single nuisance breaker trip. One trip after install is a warning. Two is a diagnostic call. Get it documented as part of the installation record while the installing contractor still owns the problem.
- Assuming the brand is the issue. A Trane installed with undersized returns performs worse than a Goodman installed correctly. Installation quality outranks brand in the first five years, and most homeowners are surprised by that.
When to Call a Professional
Some installation problems are within reach of a homeowner to notice and report. The diagnosis and correction are not. Call a qualified technician when a breaker trips more than once on the new system, when the compressor shuts off before reaching setpoint, when humidity stays above 55% during cooling, when supply airflow is weak in some rooms but strong in others, or when refrigerant symptoms (icing on the suction line or the outdoor coil) show up. Electrical work on a condenser circuit involves high voltage and should not be attempted without a licensed electrician. Refrigerant handling requires licensing and equipment. Static pressure diagnostics require a manometer and a load calculation.
If the installation is still under the installing contractor’s warranty, start there. If the installer is unresponsive, a second technician can produce an independent commissioning report you can use in a warranty claim. Fremont AC Repair offers free estimates in Fremont. Call (855) 473-9061. We answer 24/7. Fast dispatch from 7am to 7pm, Sunday through Friday.
Frequently Asked Questions
The most common cause is oversizing, where the unit is too large for the home’s load and cools the air before it can dehumidify. Refrigerant overcharge and misconfigured TXV valves cause the same symptom and need a technician to distinguish them with gauges. Get a written commissioning report from the installer as the first step. Call (855) 473-9061 for an independent diagnostic if the installer won’t return.
Uneven cooling almost always traces to duct design, not the unit: undersized returns, long supply runs, or unbalanced dampers. High static pressure at the air handler confirms it. A technician can measure airflow at each register and compare it to the room’s load. Correcting it is a duct fix, not an equipment replacement. Call (855) 473-9061 for a free estimate on duct diagnostics.
Fremont’s marine layer pushes cool, damp air inland on summer mornings, and a system that’s oversized or running the blower too fast never removes that moisture. A correctly set dehumidification mode on variable-speed equipment solves it. On single-stage systems, verifying the blower tap and tonnage is the fix. Call (855) 473-9061 to schedule a humidity and airflow check.
Typical installed pricing for a complete AC replacement in Fremont runs in the range of $7,500 to $14,000 depending on tonnage, efficiency tier, and ductwork changes. Written estimates set the final price, and we provide written fixed-price quotes before any work begins. Call (855) 473-9061 for a free estimate.
Installation quality outweighs brand for the first several years of a system’s life. A Carrier, Trane, Lennox, or Goodman unit installed with undersized returns and an incorrect charge will underperform a value-tier brand installed correctly. Our technicians work on all nine major brands, so we can diagnose the installation itself without brand bias. Call (855) 473-9061 for a free estimate.
A proper commissioning report shows the load calculation, refrigerant subcooling and superheat readings, static pressure at the air handler, temperature split, airflow, and electrical verification. If the installer can’t produce it, the system wasn’t commissioned correctly. Keep it in your records for any future warranty claim. Call (855) 473-9061 if you need an independent report.
The Bottom Line
Most problems after a new AC installation in Fremont aren’t equipment failures. They’re installation errors: oversizing, duct design, refrigerant charge, TXV configuration, or electrical sizing. Each leaves a signature symptom. Fast cycles with clammy air point to oversizing. One warm room with a thermostat at setpoint points to static pressure. A single breaker trip points to disconnect or breaker sizing. The fix starts with documentation: a commissioning report, model and serial numbers, and the signed permit card. With those in hand, you can hold the installer to the work and escalate a warranty claim with evidence. If you’re past the point of the installer responding, a second opinion is the right move. Installation, repair, or full replacement, we handle the diagnostic and the capital decision under one roof.
Nine major brands, one call, and a written fixed price before any work begins. We work on Carrier, Trane, Lennox, and Goodman among the nine brands our technicians are certified on, and we keep our advice brand-agnostic so the recommendation fits your home’s load and budget. If you’re working through a post-install problem now, or you’re scheduling a fresh installation, we’re the second set of eyes that can produce the commissioning report your installer should have left behind. Our technicians have up to 8 years of experience, and we work with your manufacturer’s warranty. For the broader picture on what a properly installed system looks like in this climate, our guide to AC installation walks through sizing and equipment tiers. If your heating side is showing its own problems, we also handle furnace repair and full replacement. The right system for your home starts with the right diagnosis, and a Fremont AC Repair diagnosis is free.
Call (855) 473-9061. We answer 24/7. Fast dispatch from 7am to 7pm, Sunday through Friday. We’re proud to serve homeowners across Fremont, and free estimates are always available.
Written by the team at Fremont AC Repair.