
Last updated November 15, 2026
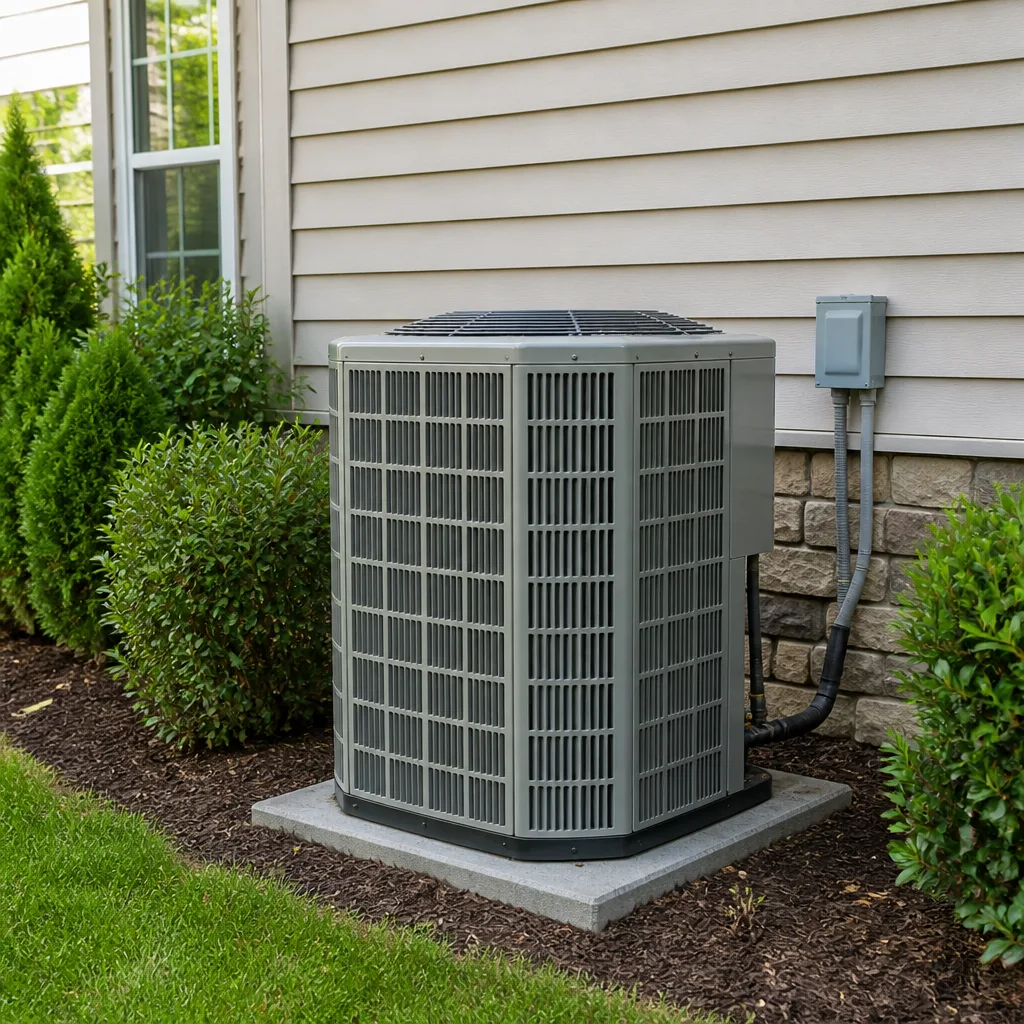 AC repair
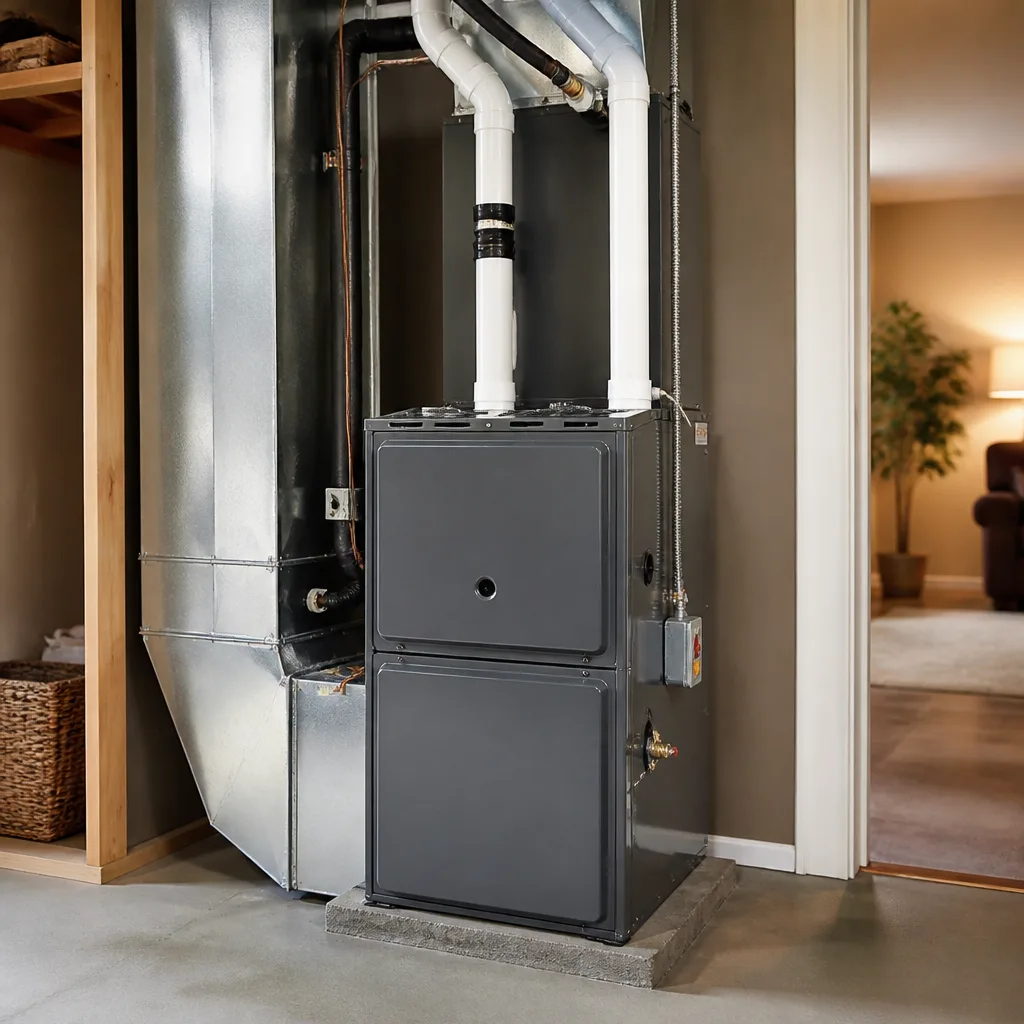 Furnace & heating
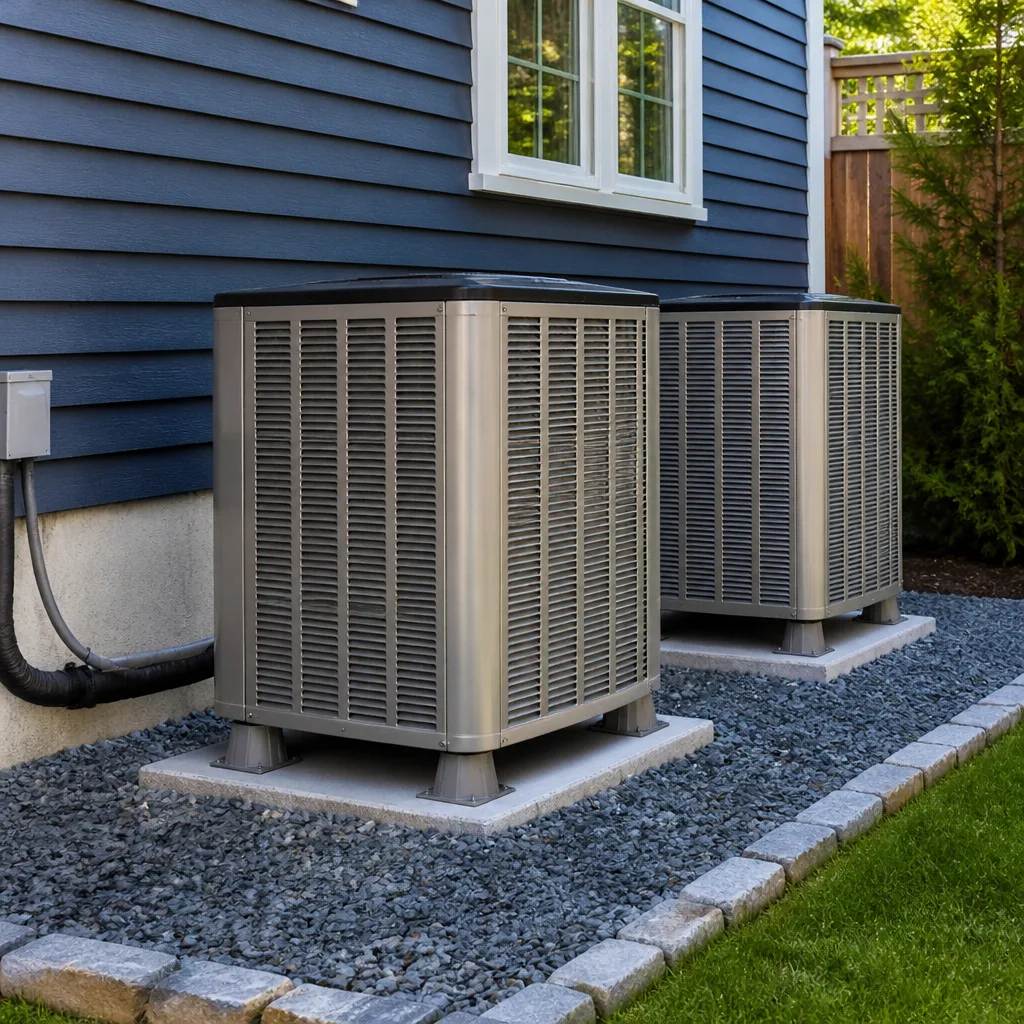 Heat pumps
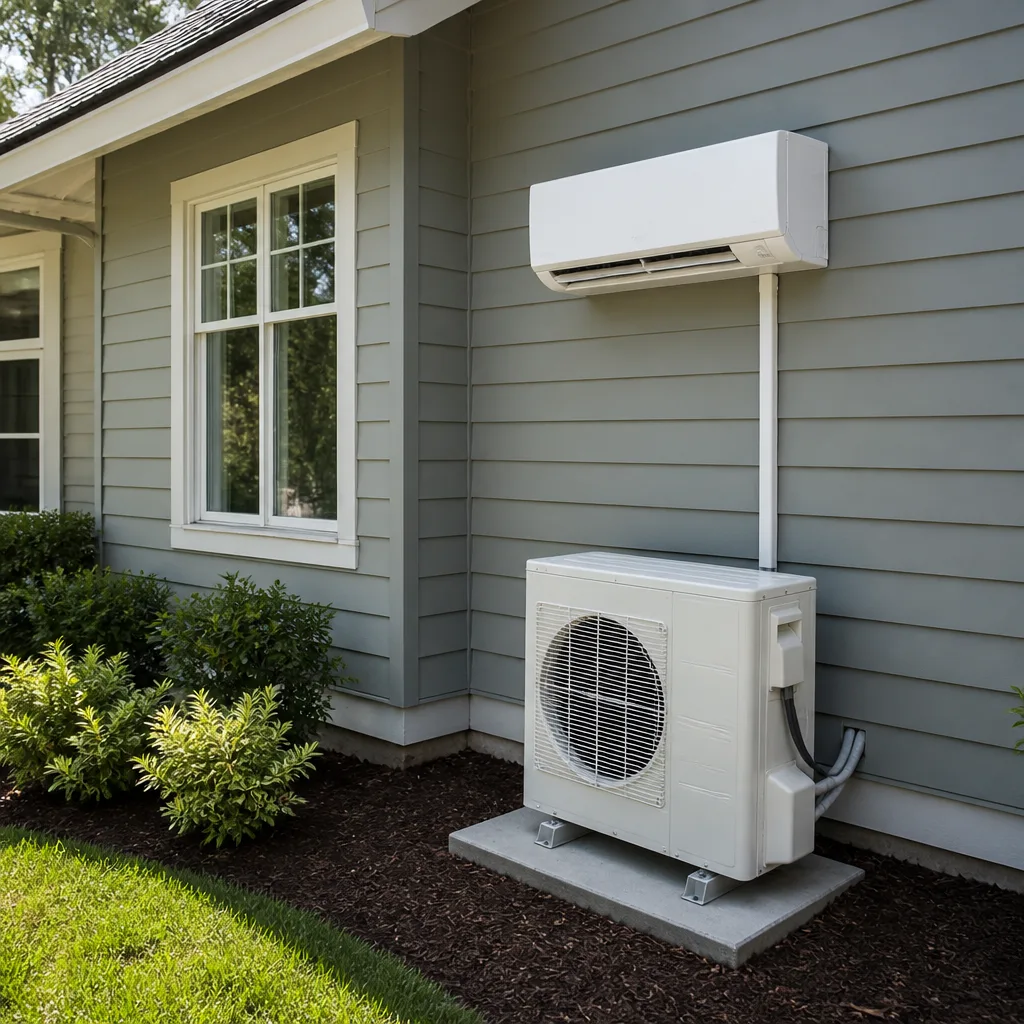 Ductless mini splits
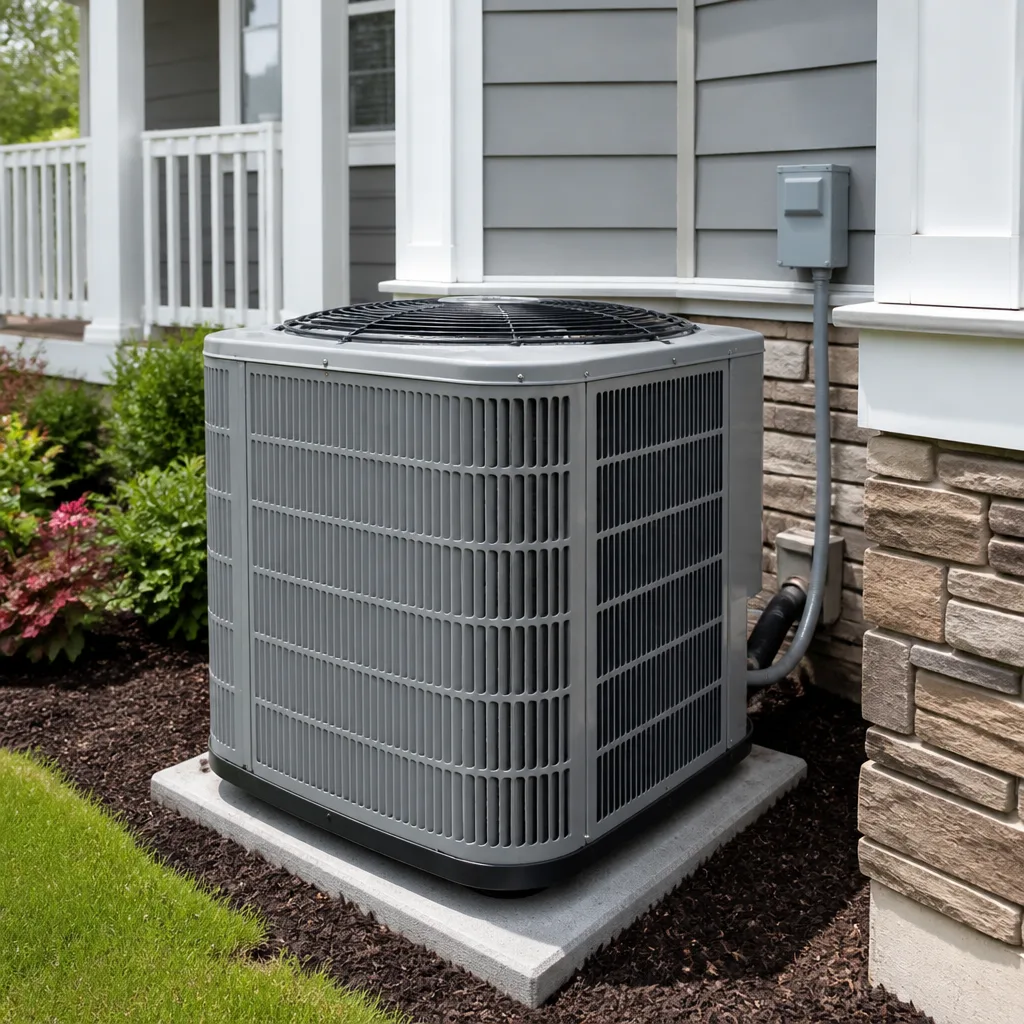 Carrier
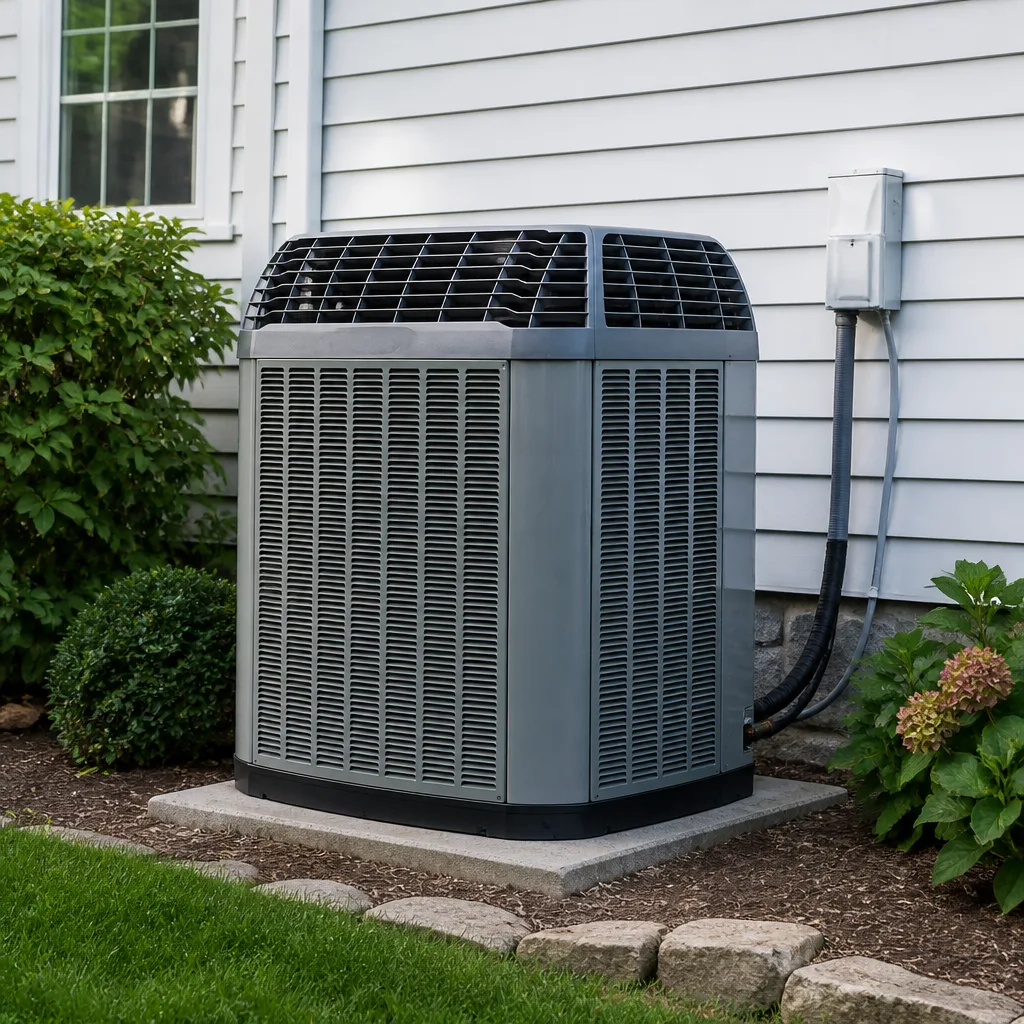 Trane
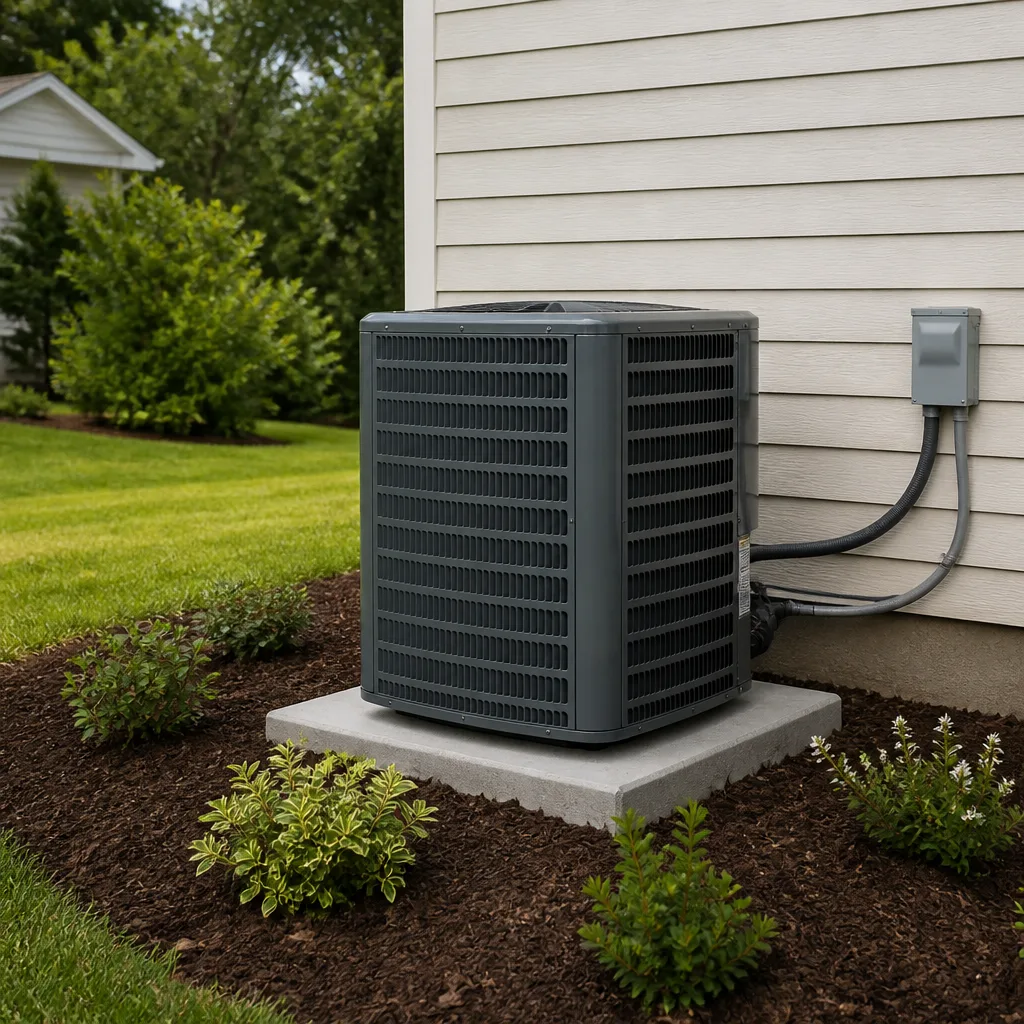 Goodman
Seasonal tune-up and full diagnostic on your Carrier, Trane, or Goodman system - readings shown to you before any repair is proposed
Diagnosis first, numbers second - you approve the repair price before a single part goes in.
Get your free estimateAC Installation Maintenance Checklist for Fremont Homeowners
If you bought a new air conditioner and assumed the maintenance schedule was the same whether you live here or in Sacramento, that assumption is costing you equipment life. Fremont sits between the Bay and the East Bay hills, and that geography drives two very different maintenance burdens depending on which side of town you’re on. Homes closer to the water deal with faster coil corrosion from moist Bay air; homes up toward Mission Hills and the warm east side collect dust that clogs filters weeks ahead of inland-California norms. This checklist is built around those real conditions, not a generic spring-and-fall template. You’ll get a month-by-month calendar for Fremont, brand-specific warranty requirements for Trane, Lennox and Carrier systems, and the three readings you should demand before the installer’s truck pulls away.
Quick Answer
A properly installed AC in Fremont needs filter checks every 4 to 8 weeks during cooling season, a condenser coil rinse and inspection twice a year (more often within roughly 5 miles of the Bay), and a full professional tune-up each spring before the first heat wave. Your brand warranty also has its own maintenance terms, and for most Carrier, Trane and Lennox equipment sold in California those terms require documented annual servicing by a qualified technician. Skip that paperwork and a covered compressor failure can become your bill.
Styles & brands we work with
- AC repair
- Furnace & heating
- Heat pumps
- Ductless mini splits
- Carrier
- Trane
- Goodman
Table of Contents
- The Fremont Month-by-Month AC Maintenance Calendar
- Coil Inspection Intervals: Bay-Side Homes vs. East-Side Homes
- What to Verify Before the Installer Leaves
- Filter and MERV Ratings for Fremont’s Smoke and Pollen Seasons
- Warranty Maintenance Rules for Carrier, Trane and Lennox Systems
- Protecting the Outdoor Unit in Fremont’s Microclimates
- What You Can Check Yourself and What You Shouldn’t
- Keeping Records That Protect Your Warranty
The Fremont Month-by-Month AC Maintenance Calendar
Generic advice tells you to service the AC in spring and call it done. Fremont’s cooling season doesn’t work that neatly. The first real heat usually lands before many homeowners have thought about their system, and wildfire smoke can arrive in late summer just when the unit is working hardest. Here’s how we’d pace the work across a Fremont year.
- February: Book your professional tune-up now. Early booking gets you on the schedule before the March-through-May rush. Replace the filter if it hasn’t been changed since fall.
- March: Clear debris from around the outdoor condenser. Check that the disconnect box is accessible and the unit sits level. Trim any plant growth back from the coil fins.
- April: Have the professional tune-up done. This is the month when a technician can clean the coil, check refrigerant charge and confirm the system is ready before demand spikes.
- May: Swap in a fresh filter ahead of the first sustained warm stretch. Walk the duct runs you can see and feel for obvious leaks at joints and registers.
- June – August: Check the filter every 4 to 8 weeks. On smoky days, run the system on fan or recirculate with windows closed, and change the filter more often if the air has been thick.
- September: Do a post-season coil rinse and inspection, especially if you’re close to the Bay. Note any new rust or fin damage before the system sits idle.
- October – November: Before you stop using cooling, clear leaves and seed pods from the condenser cabinet and the area around it. Have the furnace checked in the same visit so both sides of the system are covered.
- December – January: Off-season is the calm window for any coil cleaning, condensate line clearing or part replacement that surfaced in the fall.
Fremont’s mild winters mean the AC doesn’t fully rest. Cool evenings and occasional warm spells still cycle the system, so filters keep loading up even when you’re not thinking about cooling. Treating December and January as “do nothing” months is where a lot of homes lose efficiency.
Coil Inspection Intervals: Bay-Side Homes vs. East-Side Homes
The single biggest factor in how fast your outdoor coil degrades in Fremont is which side of town you live on. Moist air moving in from the Bay accelerates corrosion on the aluminum fins and the copper tubing underneath. Farther east, up toward Mission Hills and the warmer neighborhoods, the dominant problem flips: dust and dry debris load the coil face and cut airflow.
If you’re within roughly 5 miles of the Bay
Plan on a coil inspection and rinse every six months rather than once a year. Look for the early signs between professional visits: white or greenish powdery deposits on the fins, fins that crumble when you brush them gently, or a coil cabinet that shows rust streaks at the seams. Those are corrosion signals, not just dirt. Catching them while the coil is still intact is what separates a cleaning from a coil replacement.
If you’re on the east side, toward Mission Hills and the hills
Your coil problem is usually airflow restriction. Dust, pollen and fine grit pack into the fin gaps, and the unit starts running longer to move the same amount of air. An annual coil cleaning is the floor here, but if you’re near open ground, a construction lot or a windy ridge, inspect and clean twice a year. Check the coil face with a flashlight at an angle; if you can’t see daylight through the fins, airflow is already compromised.
Either way, coil cleaning is not a hose-blast job. Bent or crushed fins block airflow permanently, and water driven into the wrong place can damage electrical components. That’s a task to leave to a technician with the right tools and a fin comb.
What to Verify Before the Installer Leaves
Most of the money you’ll spend over the life of a new system is decided in the hour before the installer packs up. Three readings confirm the job was done right. If you don’t have them in writing, ask for them. A reputable installer expects the question.
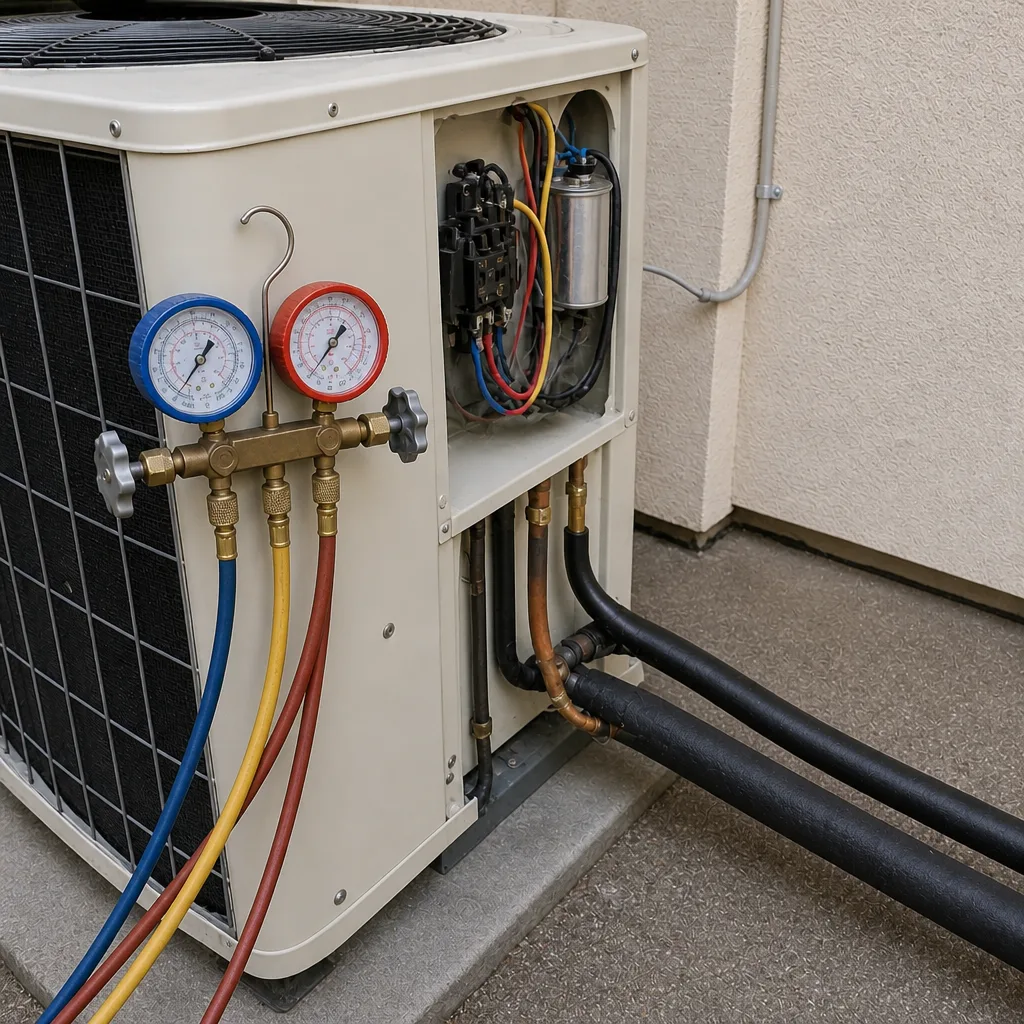
- Refrigerant charge confirmation. The technician should measure superheat or subcooling against the manufacturer’s spec, not just “check that it’s cooling.” An undercharged system works harder and can lose the compressor. Ask for the measured reading and the target it was compared against.
- Static pressure readings. Static pressure tells you whether the blower can move the rated airflow through your ducts. High static pressure means the system is choking, which shortens equipment life and increases energy use. Ask for the total external static pressure number and confirm it’s within the equipment’s rating.
- Duct leakage test results. A leaky duct system wastes cooling into attics and crawlspaces. A leakage test tells you how tight the system actually is. Get the number, not a verbal “looks good.”
Ask for these readings in writing, along with the commissioning checklist for the specific model. If you’re installing a Trane or Lennox unit, the factory startup sheet that ships with the equipment is the standard to ask for. This is also a good moment to confirm which brand you bought and why. We recommend systems across nine major brands – including Trane, Lennox, Goodman and Rheem – based on your home’s load and your budget rather than what’s on hand. If your new system is Carrier, Bryant or American Standard, the startup sheet and the paperwork trail work the same way.
Finally, walk the register at each room and confirm airflow is balanced. A room that’s still stuffy after a new install usually points to a duct design problem rather than a bad system.
Filter and MERV Ratings for Fremont’s Smoke and Pollen Seasons
Filter choice in Fremont is a tug-of-war between two seasons. Spring brings pollen from the trees and grasses across the East Bay, and late summer brings wildfire smoke drifting into the region. You want good filtration for both, but you also need the system to actually breathe.
Here’s the practical guidance:
- Standard MERV 8: The baseline. Low pressure drop, fine for most homes, protects the equipment. Good if you have a basic filter slot and don’t want to change filtersoften.
- MERV 11 to 13: Better for smoke and pollen. The catch is higher airflow resistance, and on a system with already high static pressure, a dense filter can push the blower too hard. Only step up if your ducts and blower can handle it.
- Above MERV 13: Usually a mistake on a standard residential system unless the ductwork and equipment were designed for it. The filter becomes the bottleneck.
During a heavy smoke stretch, don’t assume a higher MERV means more protection if it means the system can’t keep up. Check the filter every 4 to 8 weeks through the warm months and change it sooner if it looks gray or felted. A clogged filter is one of the few maintenance items that can take out a compressor. If you have a Carrier or Rheem system, check the owner’s manual for the filter spec the equipment was designed around. Whatever filter you pick, write the size and MERV on the filter frame with a marker so the next person doesn’t have to guess.
Warranty Maintenance Rules for Carrier, Trane and Lennox Systems
The most expensive mistake in AC ownership is failing the maintenance clause buried in the warranty terms. Most major manufacturers, including Carrier, Trane and Lennox, condition parts coverage on documented annual maintenance by a qualified technician. In California, where a compressor replacement runs into real money, missing that documentation can turn a covered failure into a bill.
- Documented annual servicing. Keep a record of each maintenance visit, with the date, what was done and the technician’s summary. For Carrier and Trane systems, the service log is the first thing a warranty claim will ask for.
- Approved parts and refrigerant handling. A technician who uses non-specified parts or mishandles refrigerant can void coverage on the compressor and sealed system. Ask that the work be done to the manufacturer’s spec.
- Registration deadlines. Many manufacturers require the equipment to be registered within a set window after installation to get the full parts term. If you didn’t register at install, check whether the paperwork was filed.
- Proof of professional maintenance, not owner maintenance. Changing your own filter doesn’t satisfy a warranty maintenance clause. The clause typically expects professional service with a written record.
- Lennox-specific terms. Lennox systems often carry parts terms tied to documented service intervals. Keep every receipt and service report in one folder, digital or paper.
Read your specific warranty booklet, not a generic summary. Terms vary by model and by the year the equipment was made. When you call for service, bring the model and serial numbers, and ask the technician to note both the maintenance findings and the warranty terms in their report.
Protecting the Outdoor Unit in Fremont’s Microclimates
The outdoor condenser is where Fremont’s geography does its damage. Moist Bay air, dry east-side dust and the sun exposure on an unshaded concrete pad all push the unit differently. A few habits keep it running longer.
- Keep the pad clear. Leaves, grass clippings, seed pods and any debris that collects against the cabinet reduce airflow. Clear a couple of feet around the unit, not just the fan grille.
- Mind the shade. A condenser in direct afternoon sun on a hot east-side lot has to work harder to reject heat. Plant or shade where you can, but never box the unit in; airflow matters more than shade.
- Rinse the coil carefully, not aggressively. A gentle condensing-coil cleaning at the right angle is fine. A pressure washer on the fins is not.
- Check the pad and the disconnect. A unit that’s tipped or sitting uneven stresses the refrigerant lines. The disconnect box should be accessible to emergency services, so don’t bury it behind fencing or storage.
- Look for corrosion on the cabinet and coil. Early surface rust is normal wear. Powdery deposits and crumbling fins are the corrosion signal that’s worth a closer look.
If your system is older and the cabinet is looking rough, get an assessment before you spend on another round of cleaning. Sometimes the right call is a cleaning plus a tune-up. Sometimes the coil condition has reached the point where a replacement is the better money. That’s a decision to make with a cost comparison, not a guess. If your AC is struggling and needs repair, that’s a different trip than a scheduled tune-up, and it’s worth knowing the difference up front.
What You Can Check Yourself and What You Shouldn’t
Homeowners can genuinely help their system with a few safe habits. The rest should go to a technician, both because of the equipment and because of the safety risks.
Safe for you to do:
- Change or clean the filter on schedule.
- Clear debris from around the outdoor unit and keep the pad clear.
- Keep registers and return grilles open and unblocked.
- Note unusual noises, smells or water spots and report them.
- Record model and serial numbers and keep the warranty booklet handy.
Leave to a professional:
- Refrigerant charge checks and any refrigerant handling. Refrigerant under pressure can cause serious injury, and the equipment required to measure and adjust charge is not homeowner-grade.
- Coil cleaning with the right tools and safe rinsing, especially on corroded coils that can crumble.
- Electrical work on the condenser or air handler. The disconnect box and the capacitor carry dangerous voltage even when the thermostat is off.
- Any diagnosis of a compressor or sealed-system problem.
If you notice a burning smell, tripped breaker, ice on the refrigerant lines or the system short-cycling, stop running it and call for service. Those symptoms point to problems that get more expensive the longer they run.
Keeping Records That Protect Your Warranty
The maintenance checklist is only as good as the paper trail behind it. A simple system beats a perfect one you never follow through on.
- Keep the original installation paperwork, the commissioning readings and the model and serial numbers in one place.
- File each service report the same day the technician leaves. Note the date, the technician’s summary and any parts replaced.
- Track every filter change, even the ones you do yourself, with a date and the MERV rating.
- Note any repair and the parts involved, since repeated repairs to the same component matter at warranty time and at replacement-decision time.
This is the file that answers a warranty claim, and it’s also the file that tells you whether you’re due for a replacement. When a system needs a new compressor or repeated sealed-system work, a well-kept record gives you a real cost history to compare against a new install. And if the equipment is still under a manufacturer’s coverage, the record is what makes the case.
Common Mistakes to Avoid
- Treating filter changes as optional. A clogged filter is the cheapest component in the system and the most common cause of blower and compressor strain. In Fremont’s dusty east side, that means changing more often than the box says, not less.
- Rinsing the coil with a garden hose at full pressure. Bent or crushed fins permanently restrict airflow, and water in the wrong spot can damage the electrical panel. A gentle rinse at the right angle is all it takes.
- Assuming the install is done when the unit turns on. Without the refrigerant charge, static pressure and duct leakage readings recorded, you can’t tell whether the system is properly commissioned. Ask for the numbers before the installer leaves.
- Forgetting the warranty maintenance clause. Many Carrier, Trane and Lennox systems require documented annual professional service to keep parts coverage. A folder of service reports is the difference between a covered failure and a bill.
- Choosing the highest MERV filter you can buy. In a system with high static pressure, a dense filter chokes the blower. Match the filter to what the equipment can move, not the number on the package.
- Missing the shoulder season. Fremont winters are mild, so the system cycles year-round. Skipping December and January means dirt and corrosion quietly build up before the next busy season.
- Calling a different trade for a cross-system symptom. When the AC struggles on a hot day and the furnace is part of the same ducted system, a single HVAC diagnosis sees the whole picture. A single-trade contractor often doesn’t.
See the difference
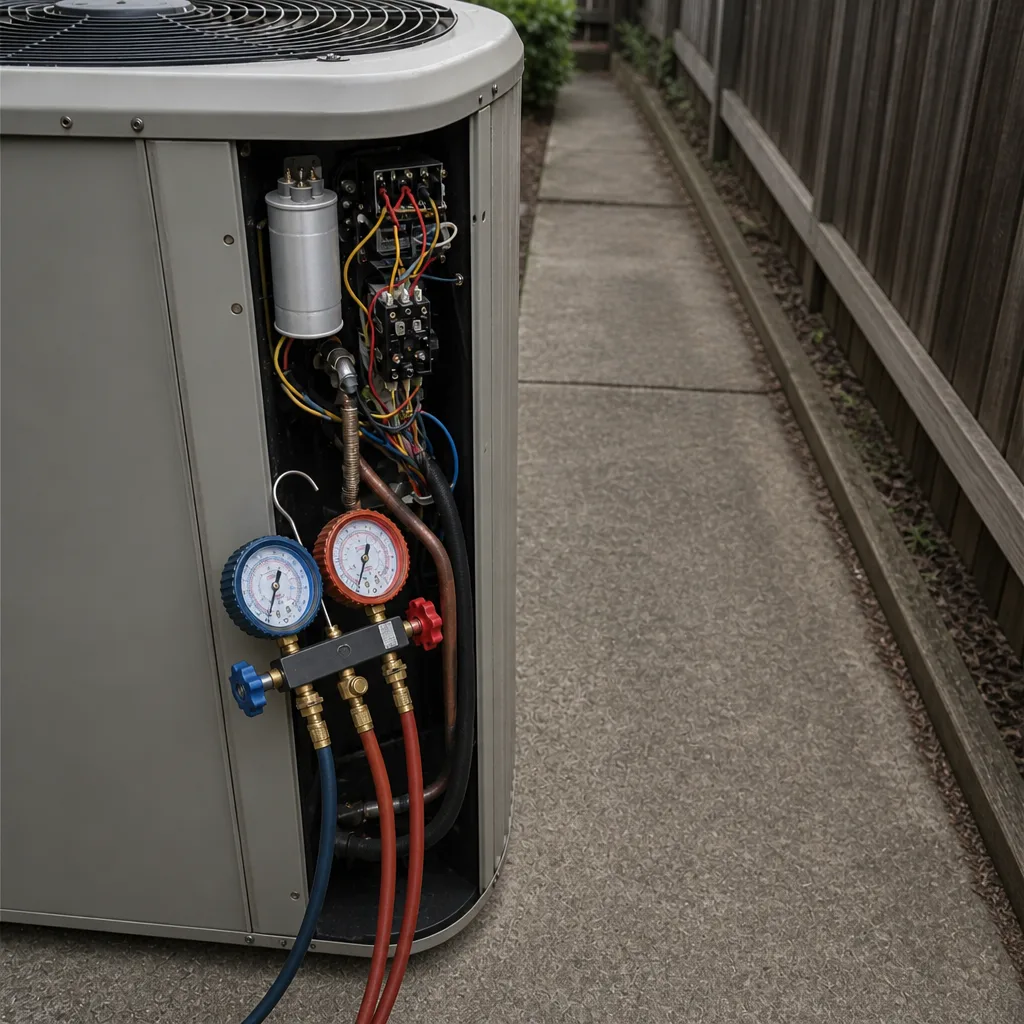
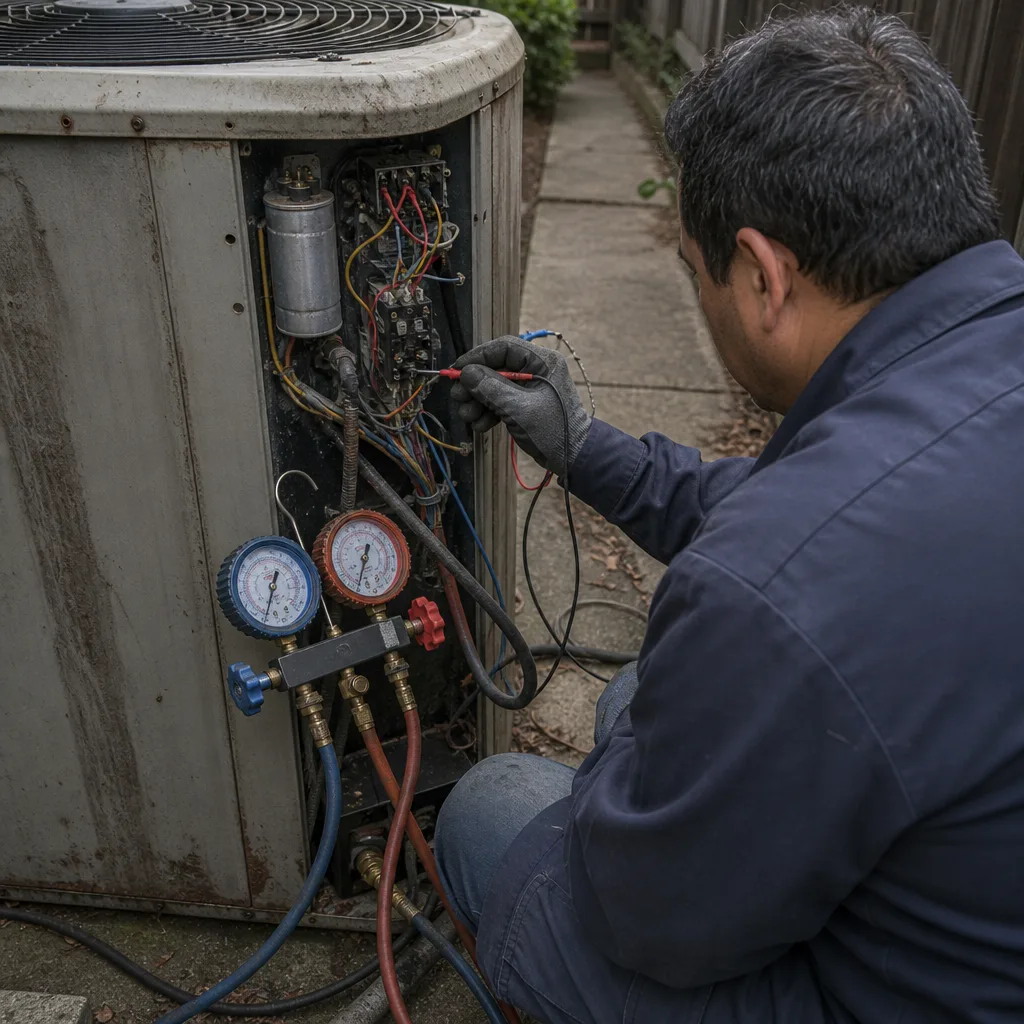 Before
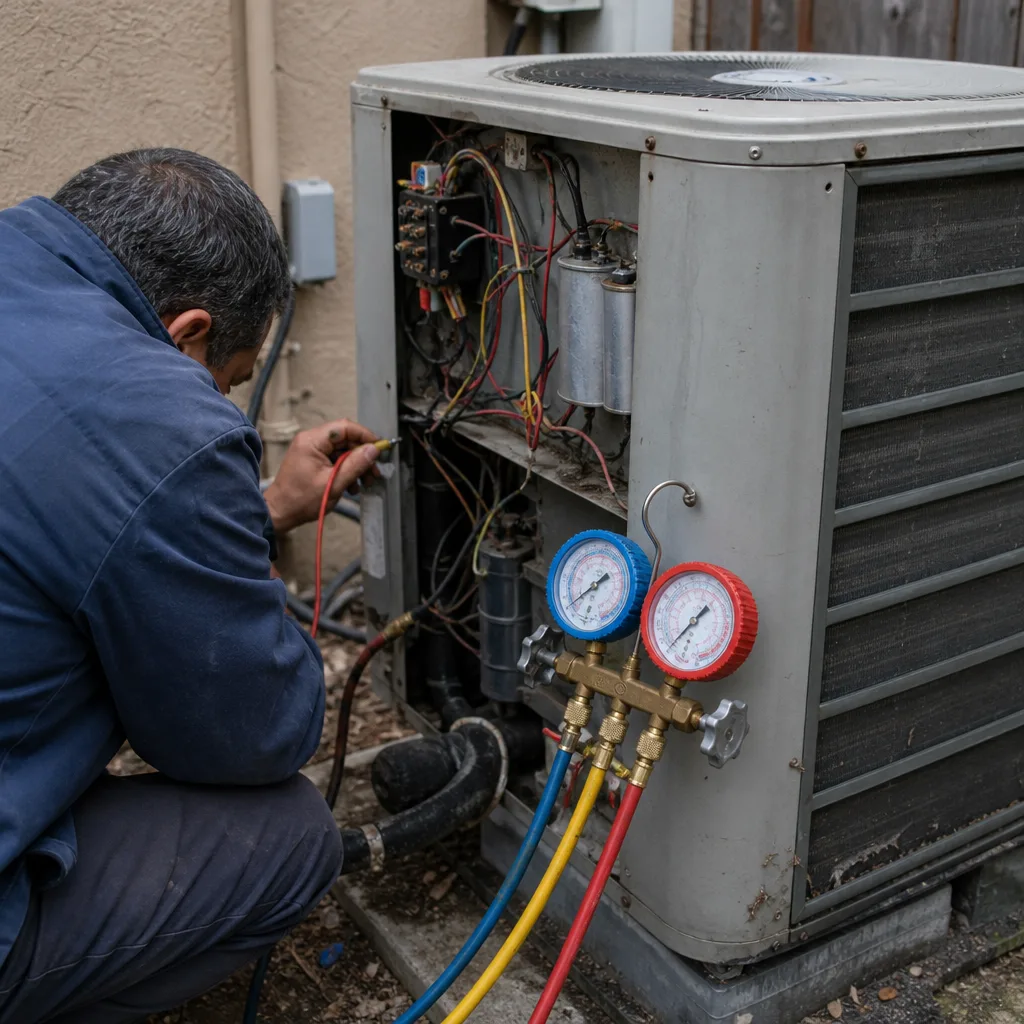
 After
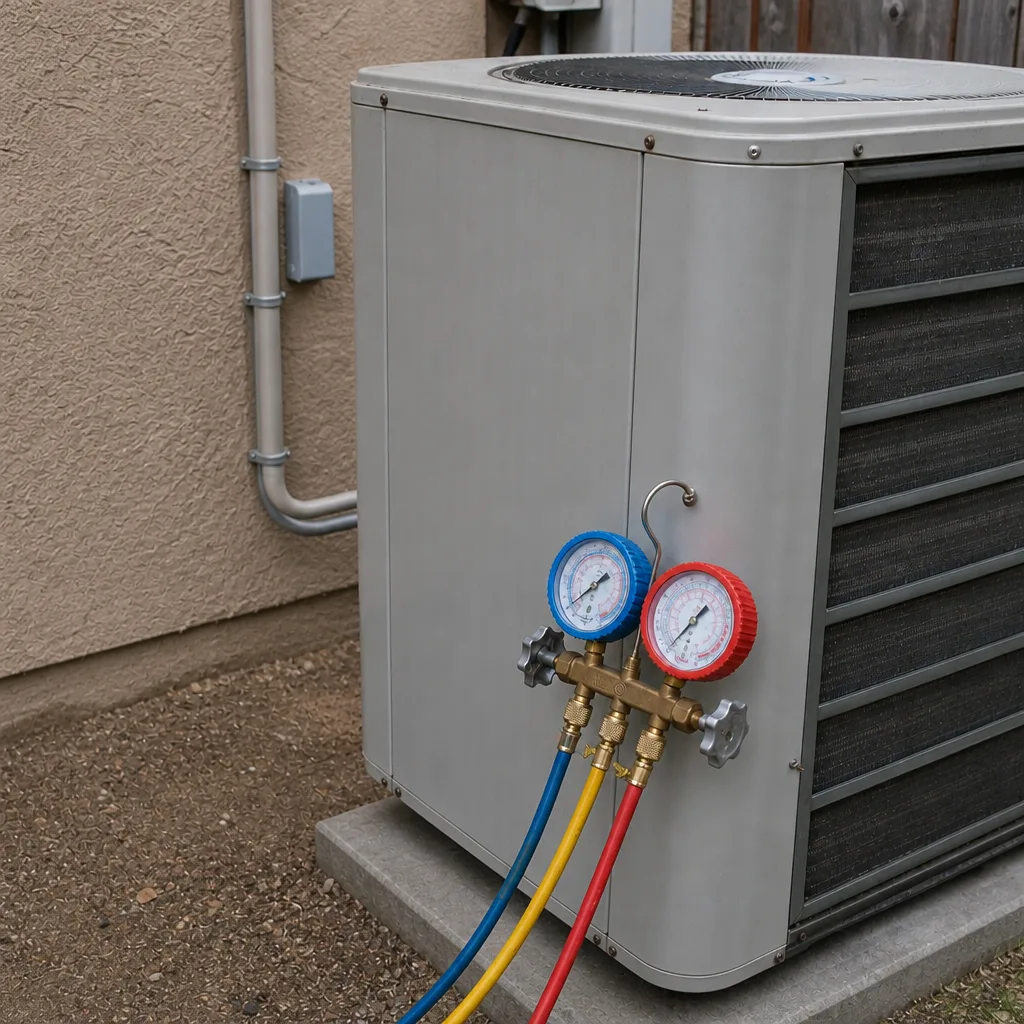
 Before
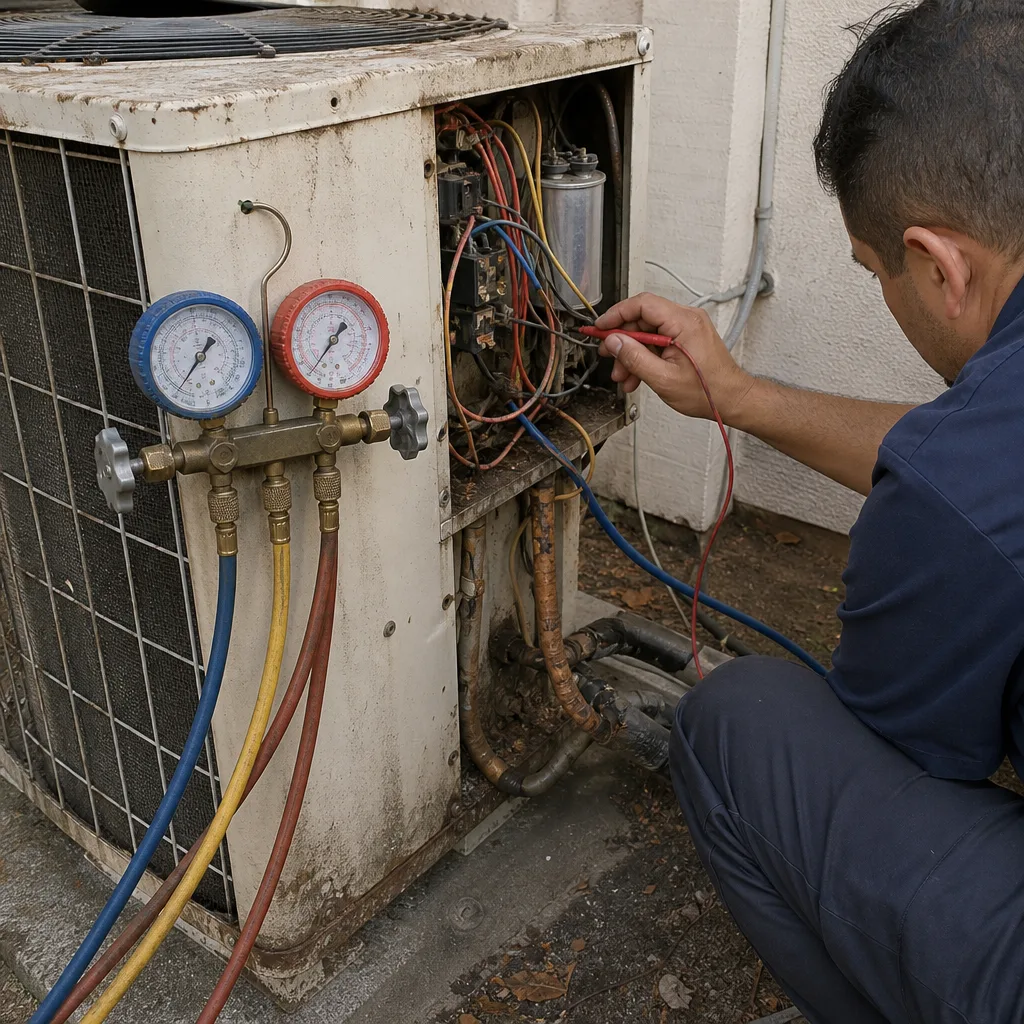
 After
 Before
 After
When to Call a Professional
Some maintenance is a weekend habit. Some of it needs a trained technician with the right instruments. Book a professional visit when the filter is fresh and the system still runs long cycles or blows warm air, when you see ice or frost on the refrigerant lines, when the outdoor coil shows powdery deposits or crumbling fins, or when the unit trips the breaker or short-cycles. A pre-season tune-up before the first heat wave is the best value on the calendar. And if the equipment is under a Carrier, Trane or Lennox warranty, the annual professional visit is what keeps the coverage intact. We handle diagnostics, repair and full replacement across all nine major brands, so you’re not handed off to a second contractor when the system reaches the replacement decision. Fremont AC Repair offers AC installation in Fremont – call (855) 473-9061 for a free estimate.
Frequently Asked Questions
Most Fremont homes need a professional tune-up once a year, ideally in spring before the first heat wave, plus filter checks every 4 to 8 weeks during cooling season. Homes close to the Bay should add a second coil inspection each year because moist air accelerates corrosion, and east-side homes near the hills should add one because dust loads the coil faster.
Yes, for most major brands. Carrier, Trane and Lennox systems commonly condition parts coverage on documented annual maintenance by a qualified technician. Keep every service report, with the date and what was done, in one folder. It’s what a warranty claim will ask for first.
MERV 8 is the safe baseline for equipment airflow. MERV 11 to 13 gives better smoke and pollen protection, but only if your ducts and blower can handle the extra resistance. Above MERV 13 usually chokes a standard residential system unless it was designed for it.
Ask for three readings in writing: the refrigerant charge confirmed against the manufacturer’s superheat or subcooling spec, the static pressure readings within the equipment’s rating, and the duct leakage test results. If your system is a Trane, Lennox or Carrier unit, ask for the factory startup sheet for that model, too. Without those numbers, you can’t tell whether the system was commissioned correctly.
It can happen faster in Fremont than inland, because the Bay’s moist air accelerates corrosion on outdoor coils. A four-year-old coil with powdery deposits or rust streaks is worth a technician’s look before it fails. Catch it while a cleaning is still an option rather than a coil replacement.
No, and it’s worth knowing why. A filter change doesn’t clean the coil, check the refrigerant charge or verify static pressure. Those are the checks that catch a problem before it becomes a compressor or a warranty issue. The filter habit helps, but it doesn’t replace a technician’s inspection.
It depends on the repair and the coil condition. A single component repair on a system with a sound coil and clear documentation is usually worth it. If the system needs a compressor or the coil is corroding, compare the repair cost against a new install and a written estimate. We service the full lifecycle – Fremont AC Repair, new installation and replacement – so the comparison is one conversation, not two contractors.
The Bottom Line
A new AC in Fremont doesn’t fail because of the brand name on the cabinet. It fails when the maintenance burden specific to this geography is ignored. Coils within a few miles of the Bay corrode faster; coils on the east side clog faster. Build the month-by-month calendar around your actual conditions, ask for refrigerant charge, static pressure and duct leakage readings before the installer leaves, match your filter to the equipment’s airflow, and keep the service records your Carrier, Trane or Lennox warranty expects. That’s the whole checklist, and it’s the one that matters here. If you need furnace repair or a full AC assessment for a home in Fremont, we’re glad to help.
Call (855) 473-9061 for a free estimate. We answer 24/7. Fast dispatch from 7am to 7pm, Sunday through Friday. Our technicians have up to 8 years of experience with Carrier, Trane, Lennox, Goodman, Rheem, York, Daikin, Bryant and American Standard systems, so whatever brand is already in your home, we know the equipment.
Written by the team at Fremont AC Repair.